Getting Started with the Dashboard
Dashboard shows live on-chain activity.
Instead of relying on a single centralized server, all network data and inference metrics are hosted directly on the Hosts' nodes. This means the dashboard can connect to any Host’s node and fetch live network data straight from the source.
You can interact with the dashboard in two ways:
- Preview Mode — explore a dashboard and view network data without creating an account.
- Full Mode — unlock the complete feature set by connecting your own wallet.
If you want to explore the network or see real-time inference metrics before setting up your own account, follow these steps:
-
Here is the list of genesis nodes. Choose a random node from the list below and open it in a new browser window/tab.
- http://36.189.234.237:17241
- https://node1.gonka.ai:8443
- https://node2.gonka.ai:8443
- http://47.236.26.199:8000
- http://47.236.19.22:18000
- http://gonka.spv.re:8000
Alternative: fully decentralized way to choose a random node
Open the Hosts list: http://node2.gonka.ai:8443/v1/epochs/current/participants.
Choose any active Host from the list. Copy theirinference_urlvalue. Paste theinference_urlinto your browser to load the dashboard. -
Once opened, you’ll see real-time data streamed directly from the Host’s node.
Why is this important?
This architecture ensures decentralization: no single central server controls the network. In preview mode, functionality is limited. You can view balances, transactions, and some analytics. If you want to send coins, manage your personal accounts, etc, unlock Full mode.
First, open the dashboard using Preview Mode. Once you’ve accessed it, continue with the instructions below to enable all features.
1. Access Gonka Account
To unlock the full functionality of the dashboard, you need a Gonka account.
- Already have one? Proceed to the "Set Up External Wallet" section below.
- New user? Create a Gonka account first, then return here.
2. Set Up External Wallet
To interact with Dashboard through your wallet, it is recommended to use Keplr (a browser extension wallet built for Cosmos-based chains).
What is a wallet?
A crypto wallet serves as a secure container for a user's public and private cryptographic keys, enabling them to manage, transfer, and purchase cryptocurrencies. Gonka is built on the Cosmos-SDK blockchain framework and can be accessed using Keplr wallet.
- If you have a Keplr wallet browser extension, proceed to the "Connect wallet" section.
- If you haven't set it up yet, follow the steps below.
Install an extension for your browser.
Go to the official Keplr website and click "Get Keplr wallet".
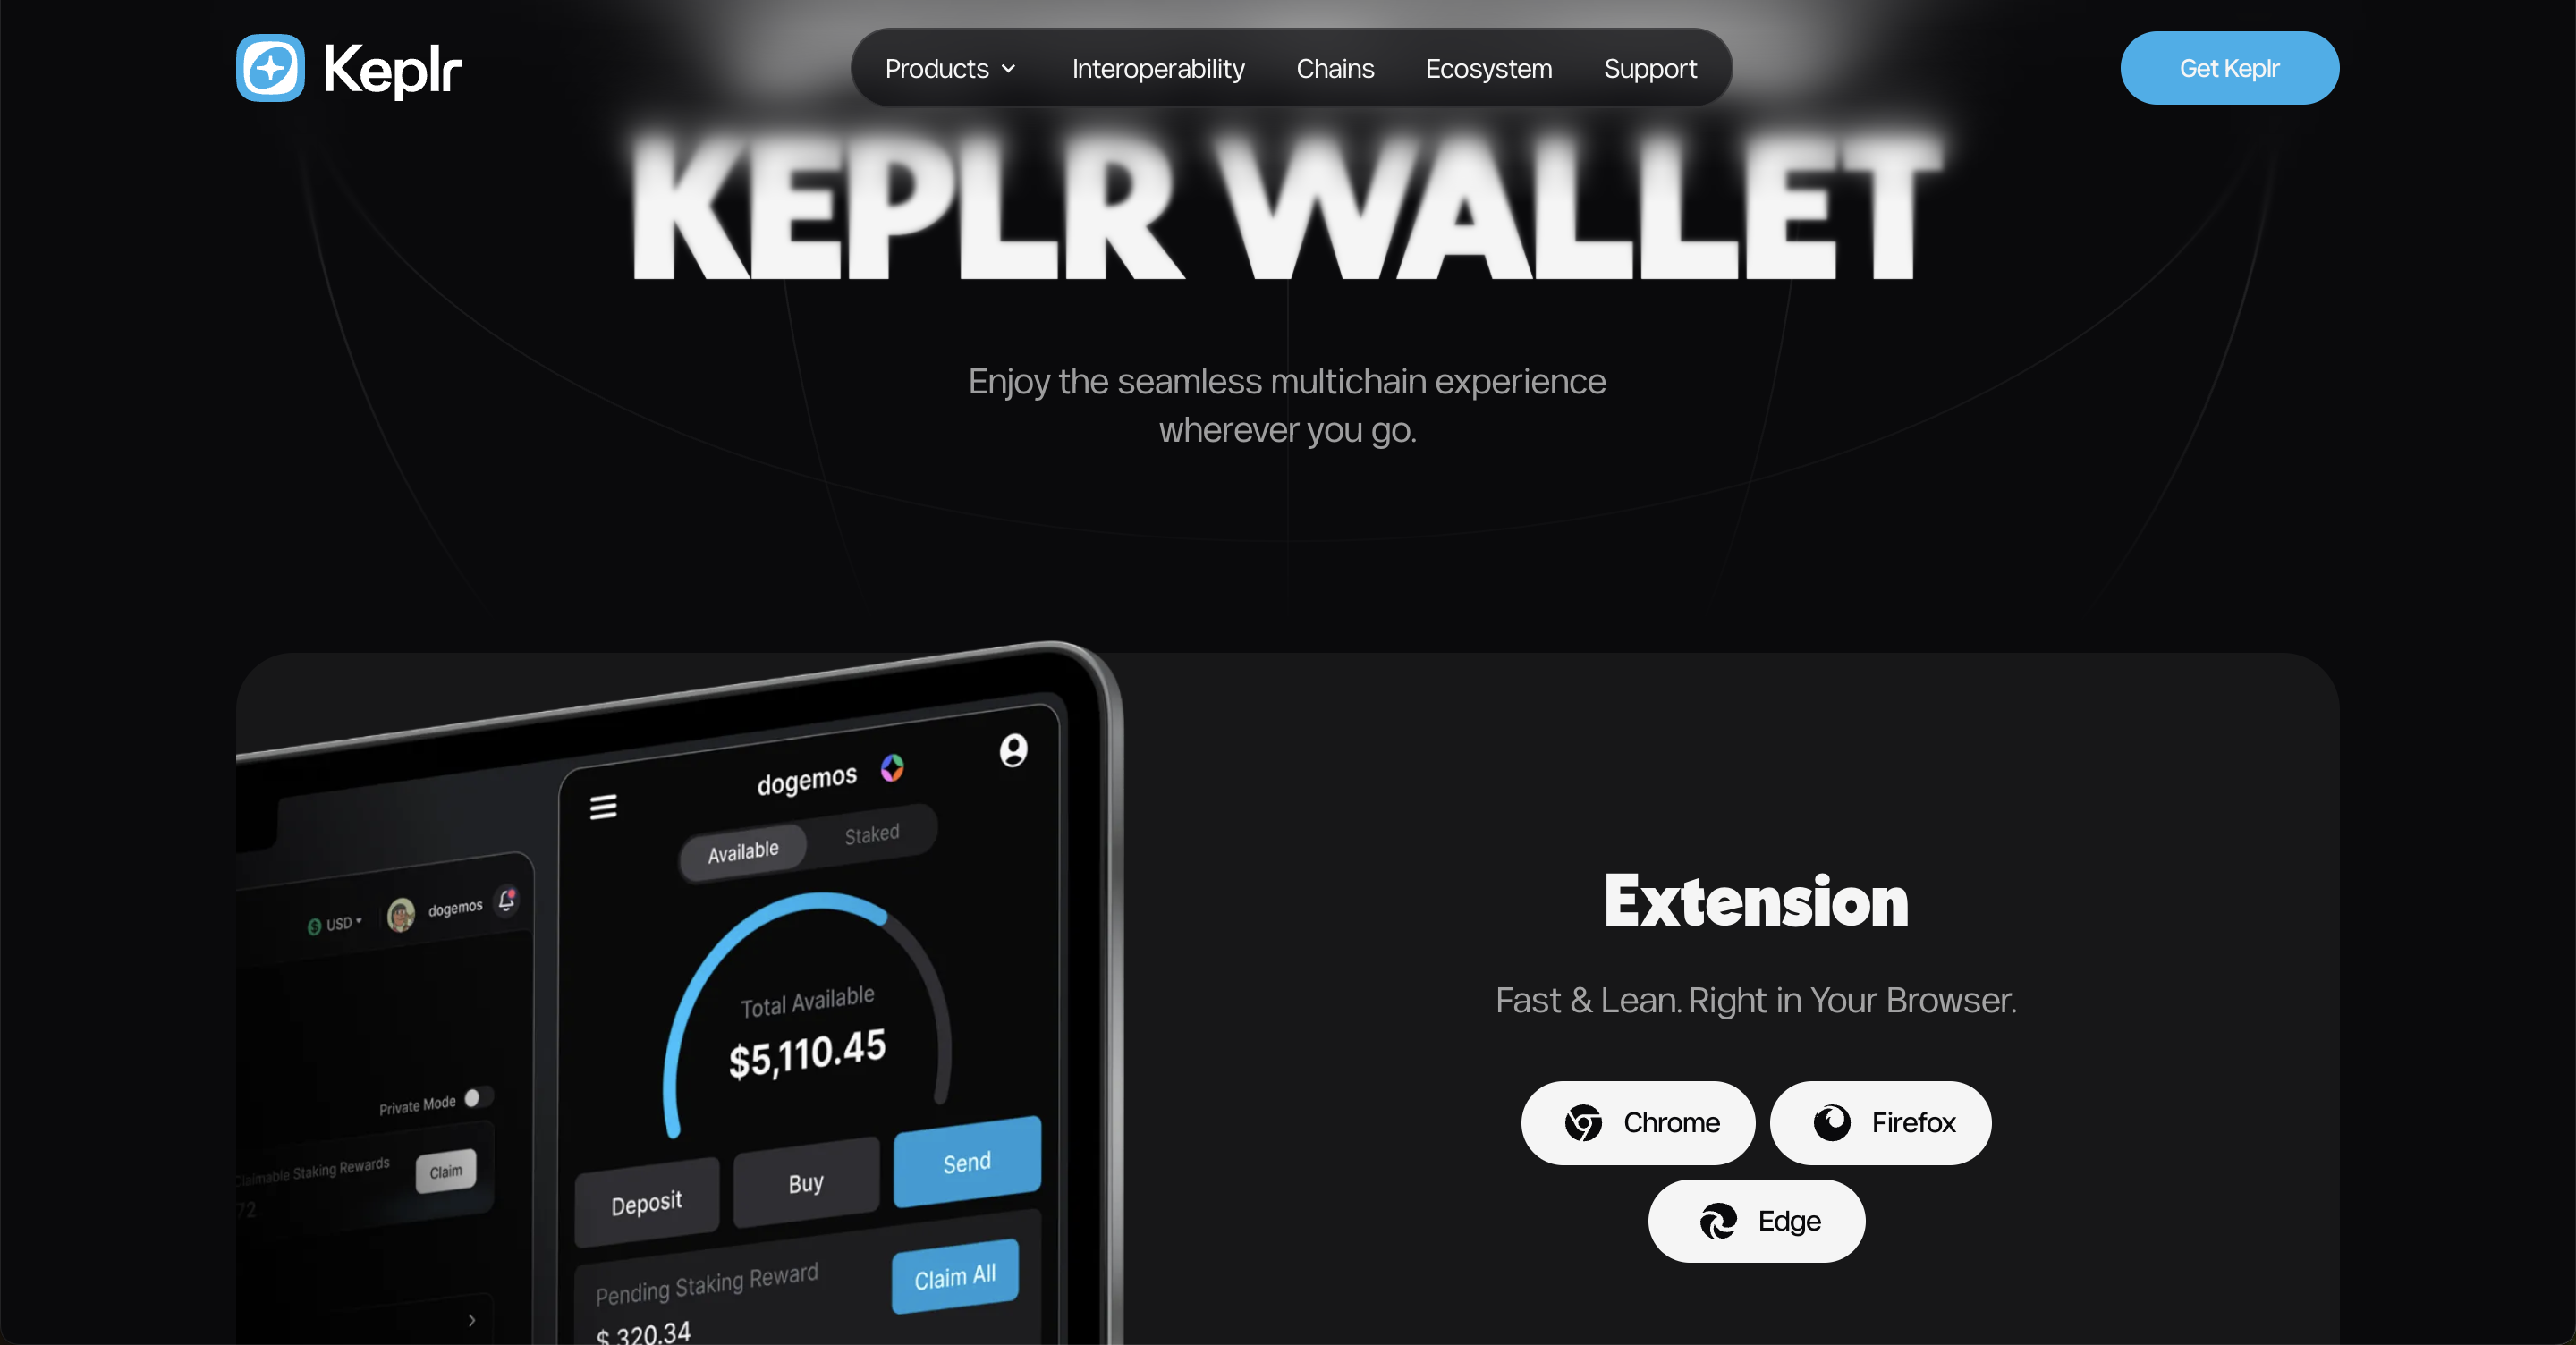
Choose an extension for your browser.
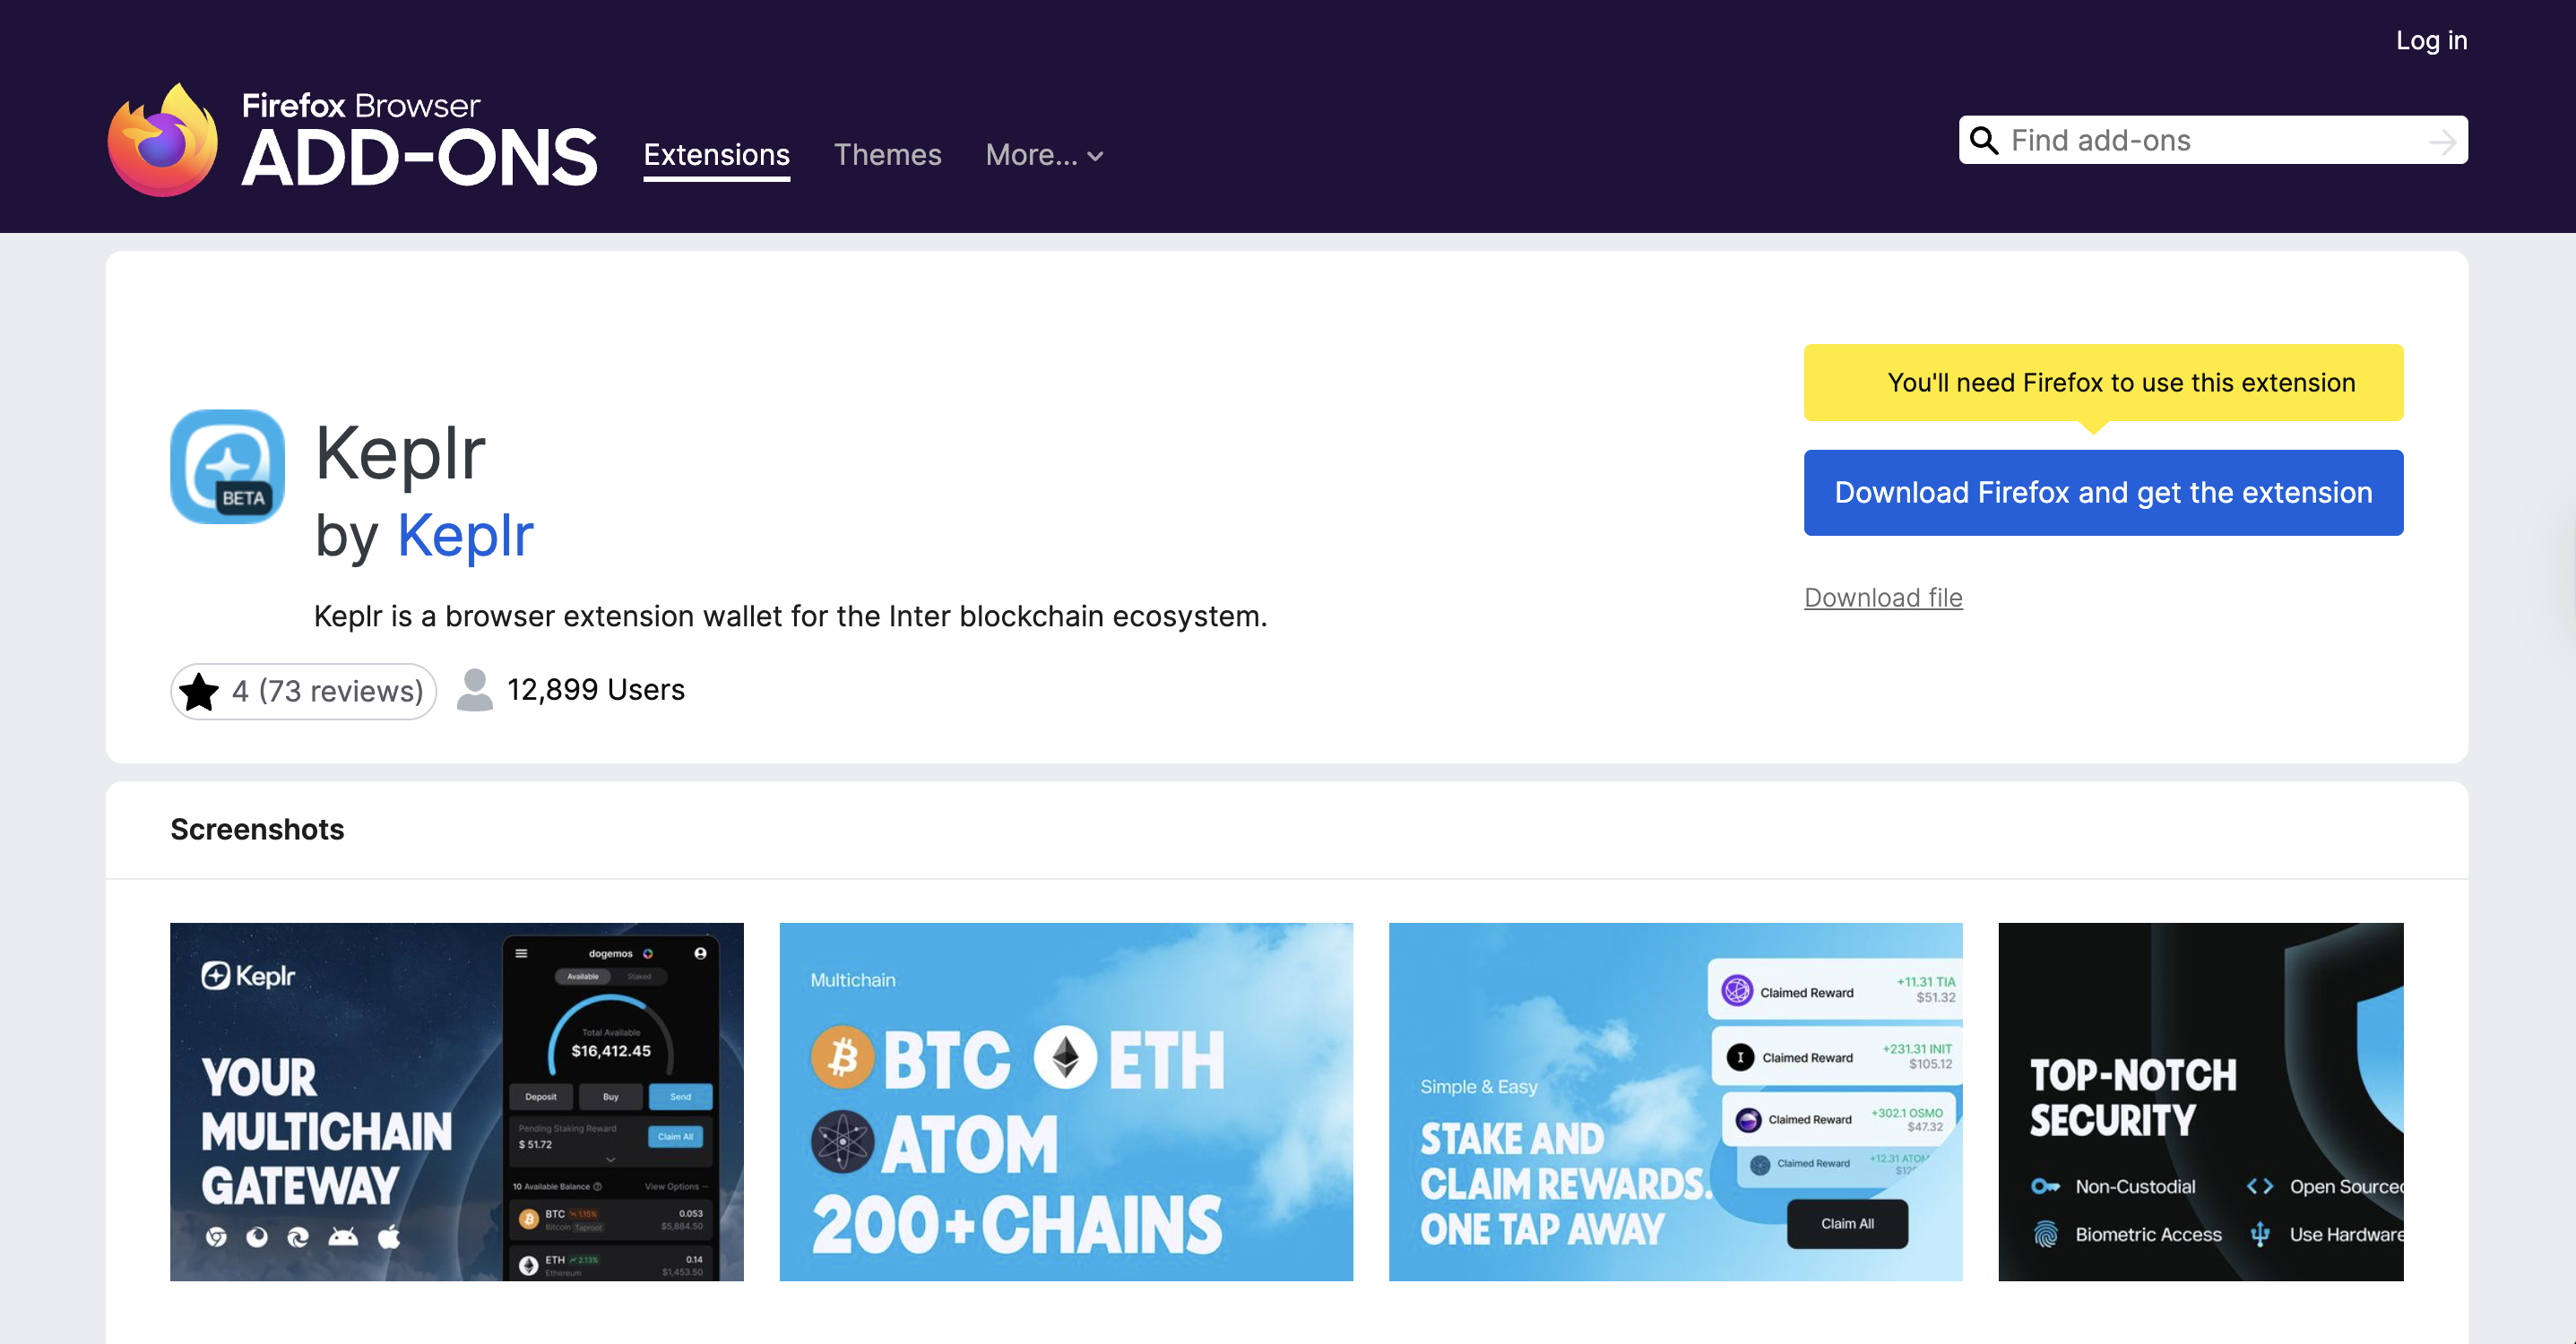
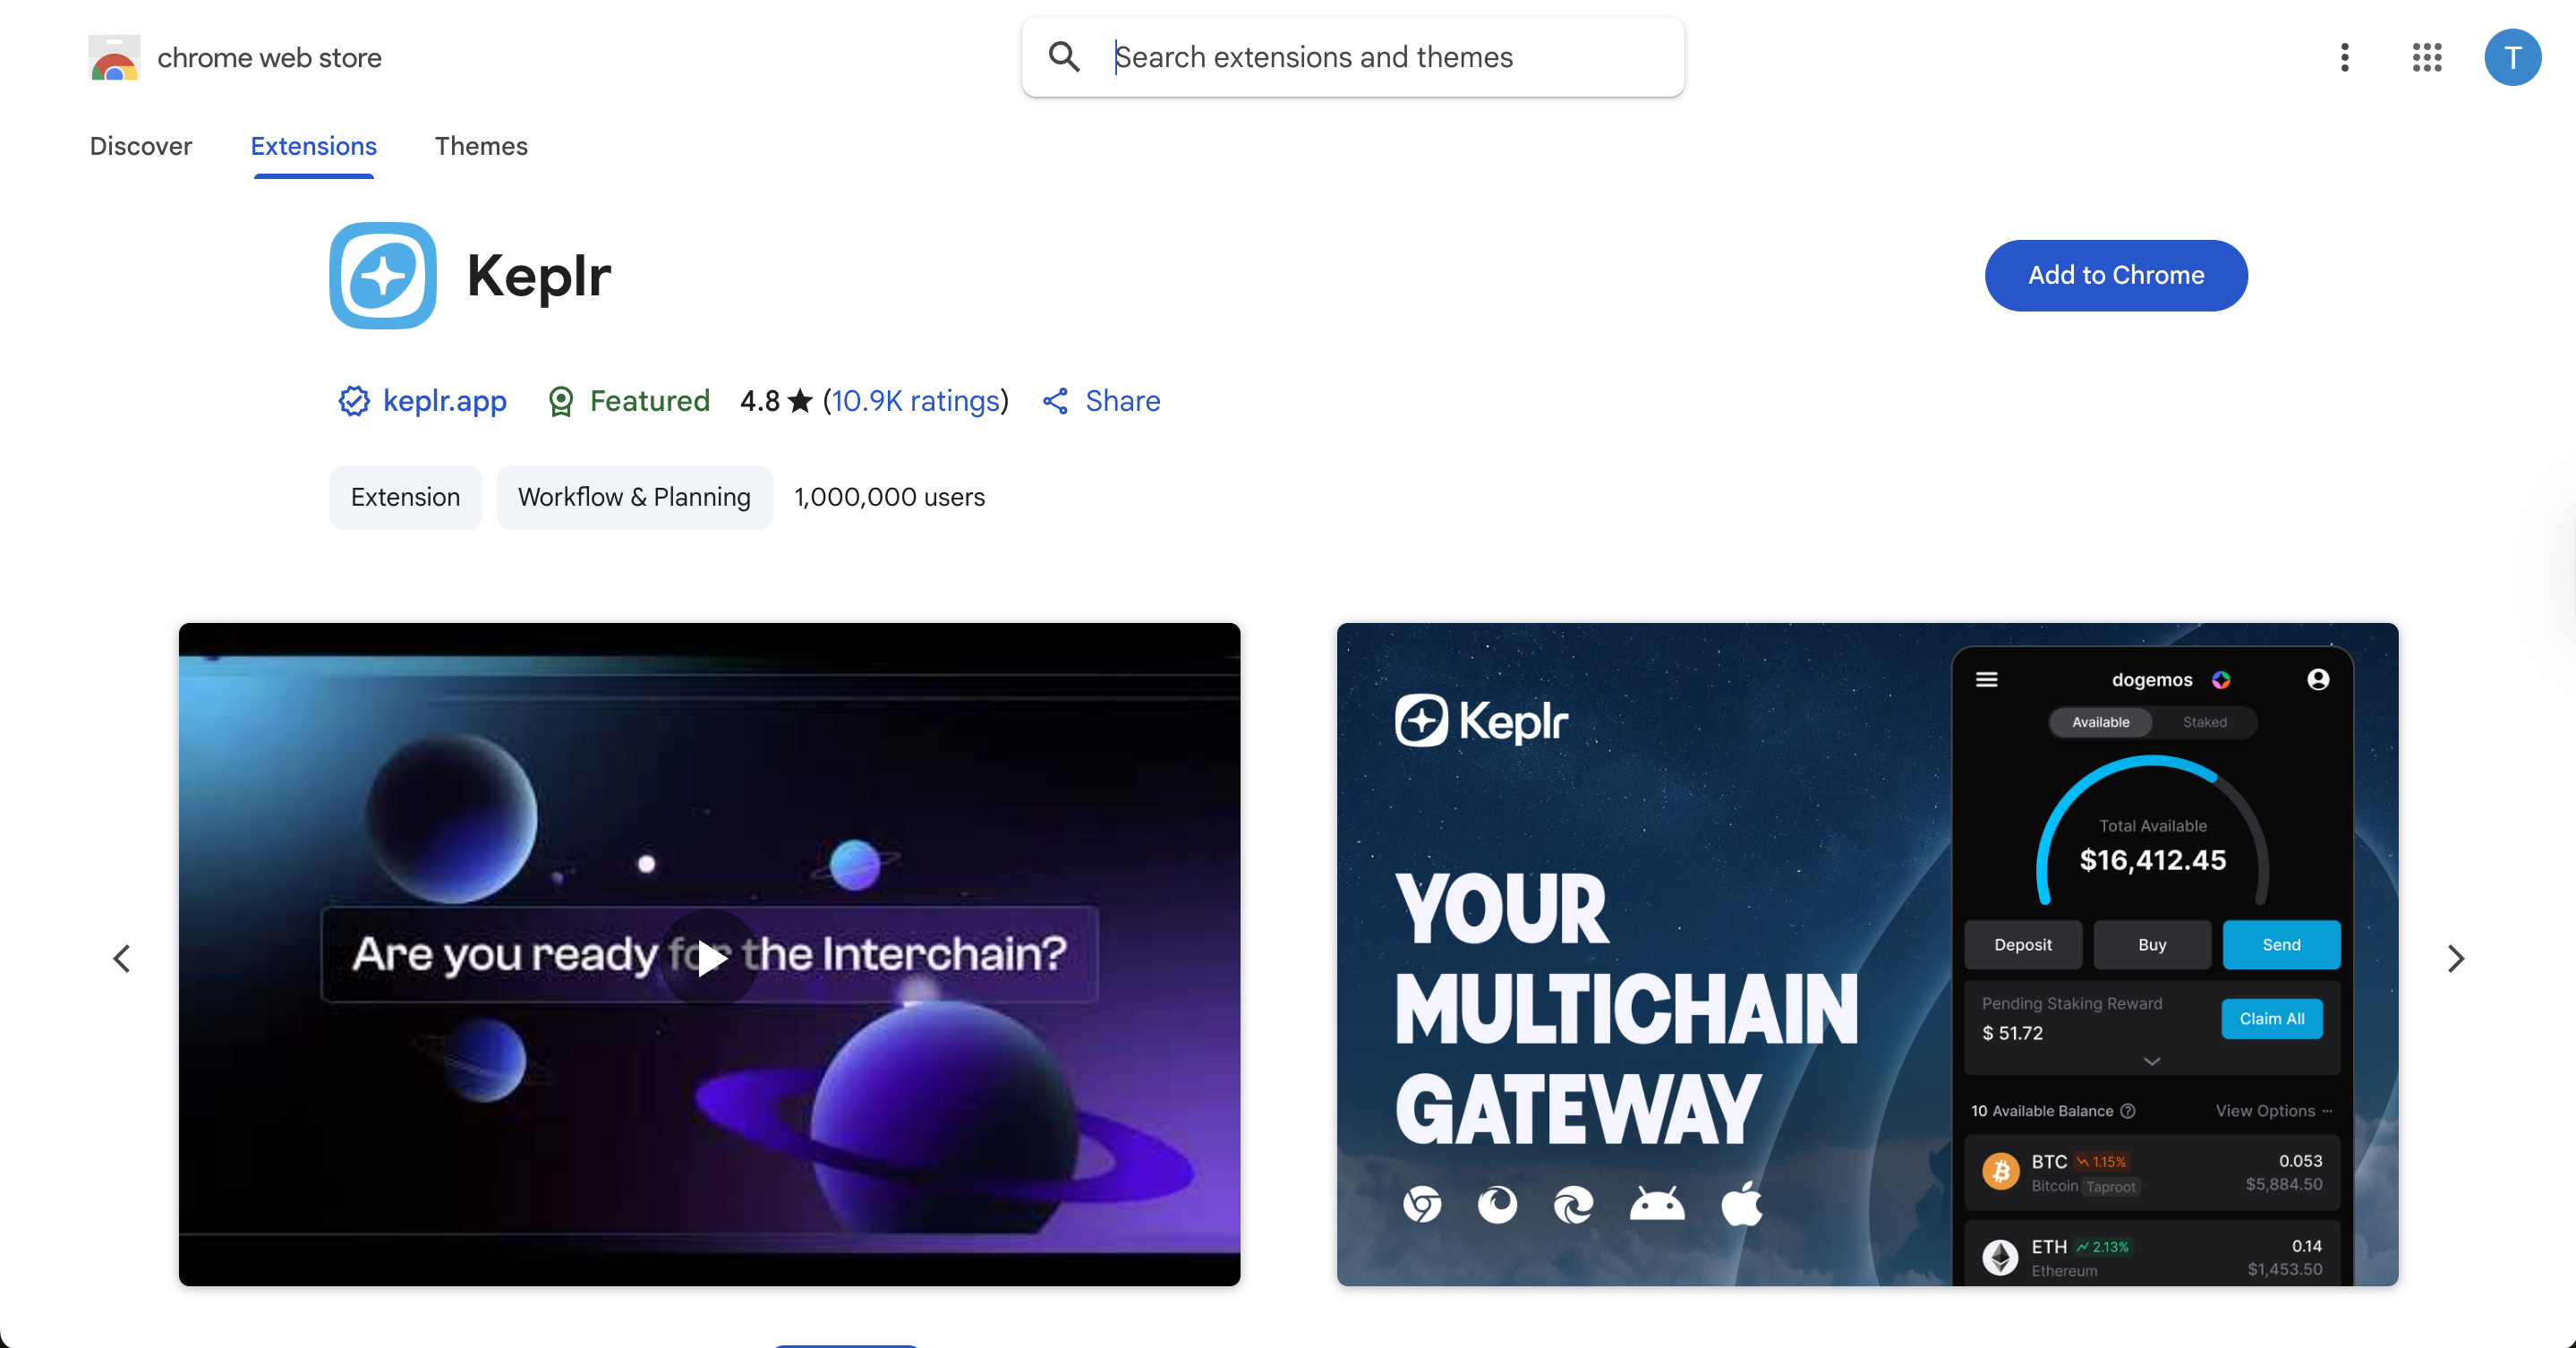
Add the selected extension to your browser.
After installing the extension, you should see it in the top-right panel of your browser.
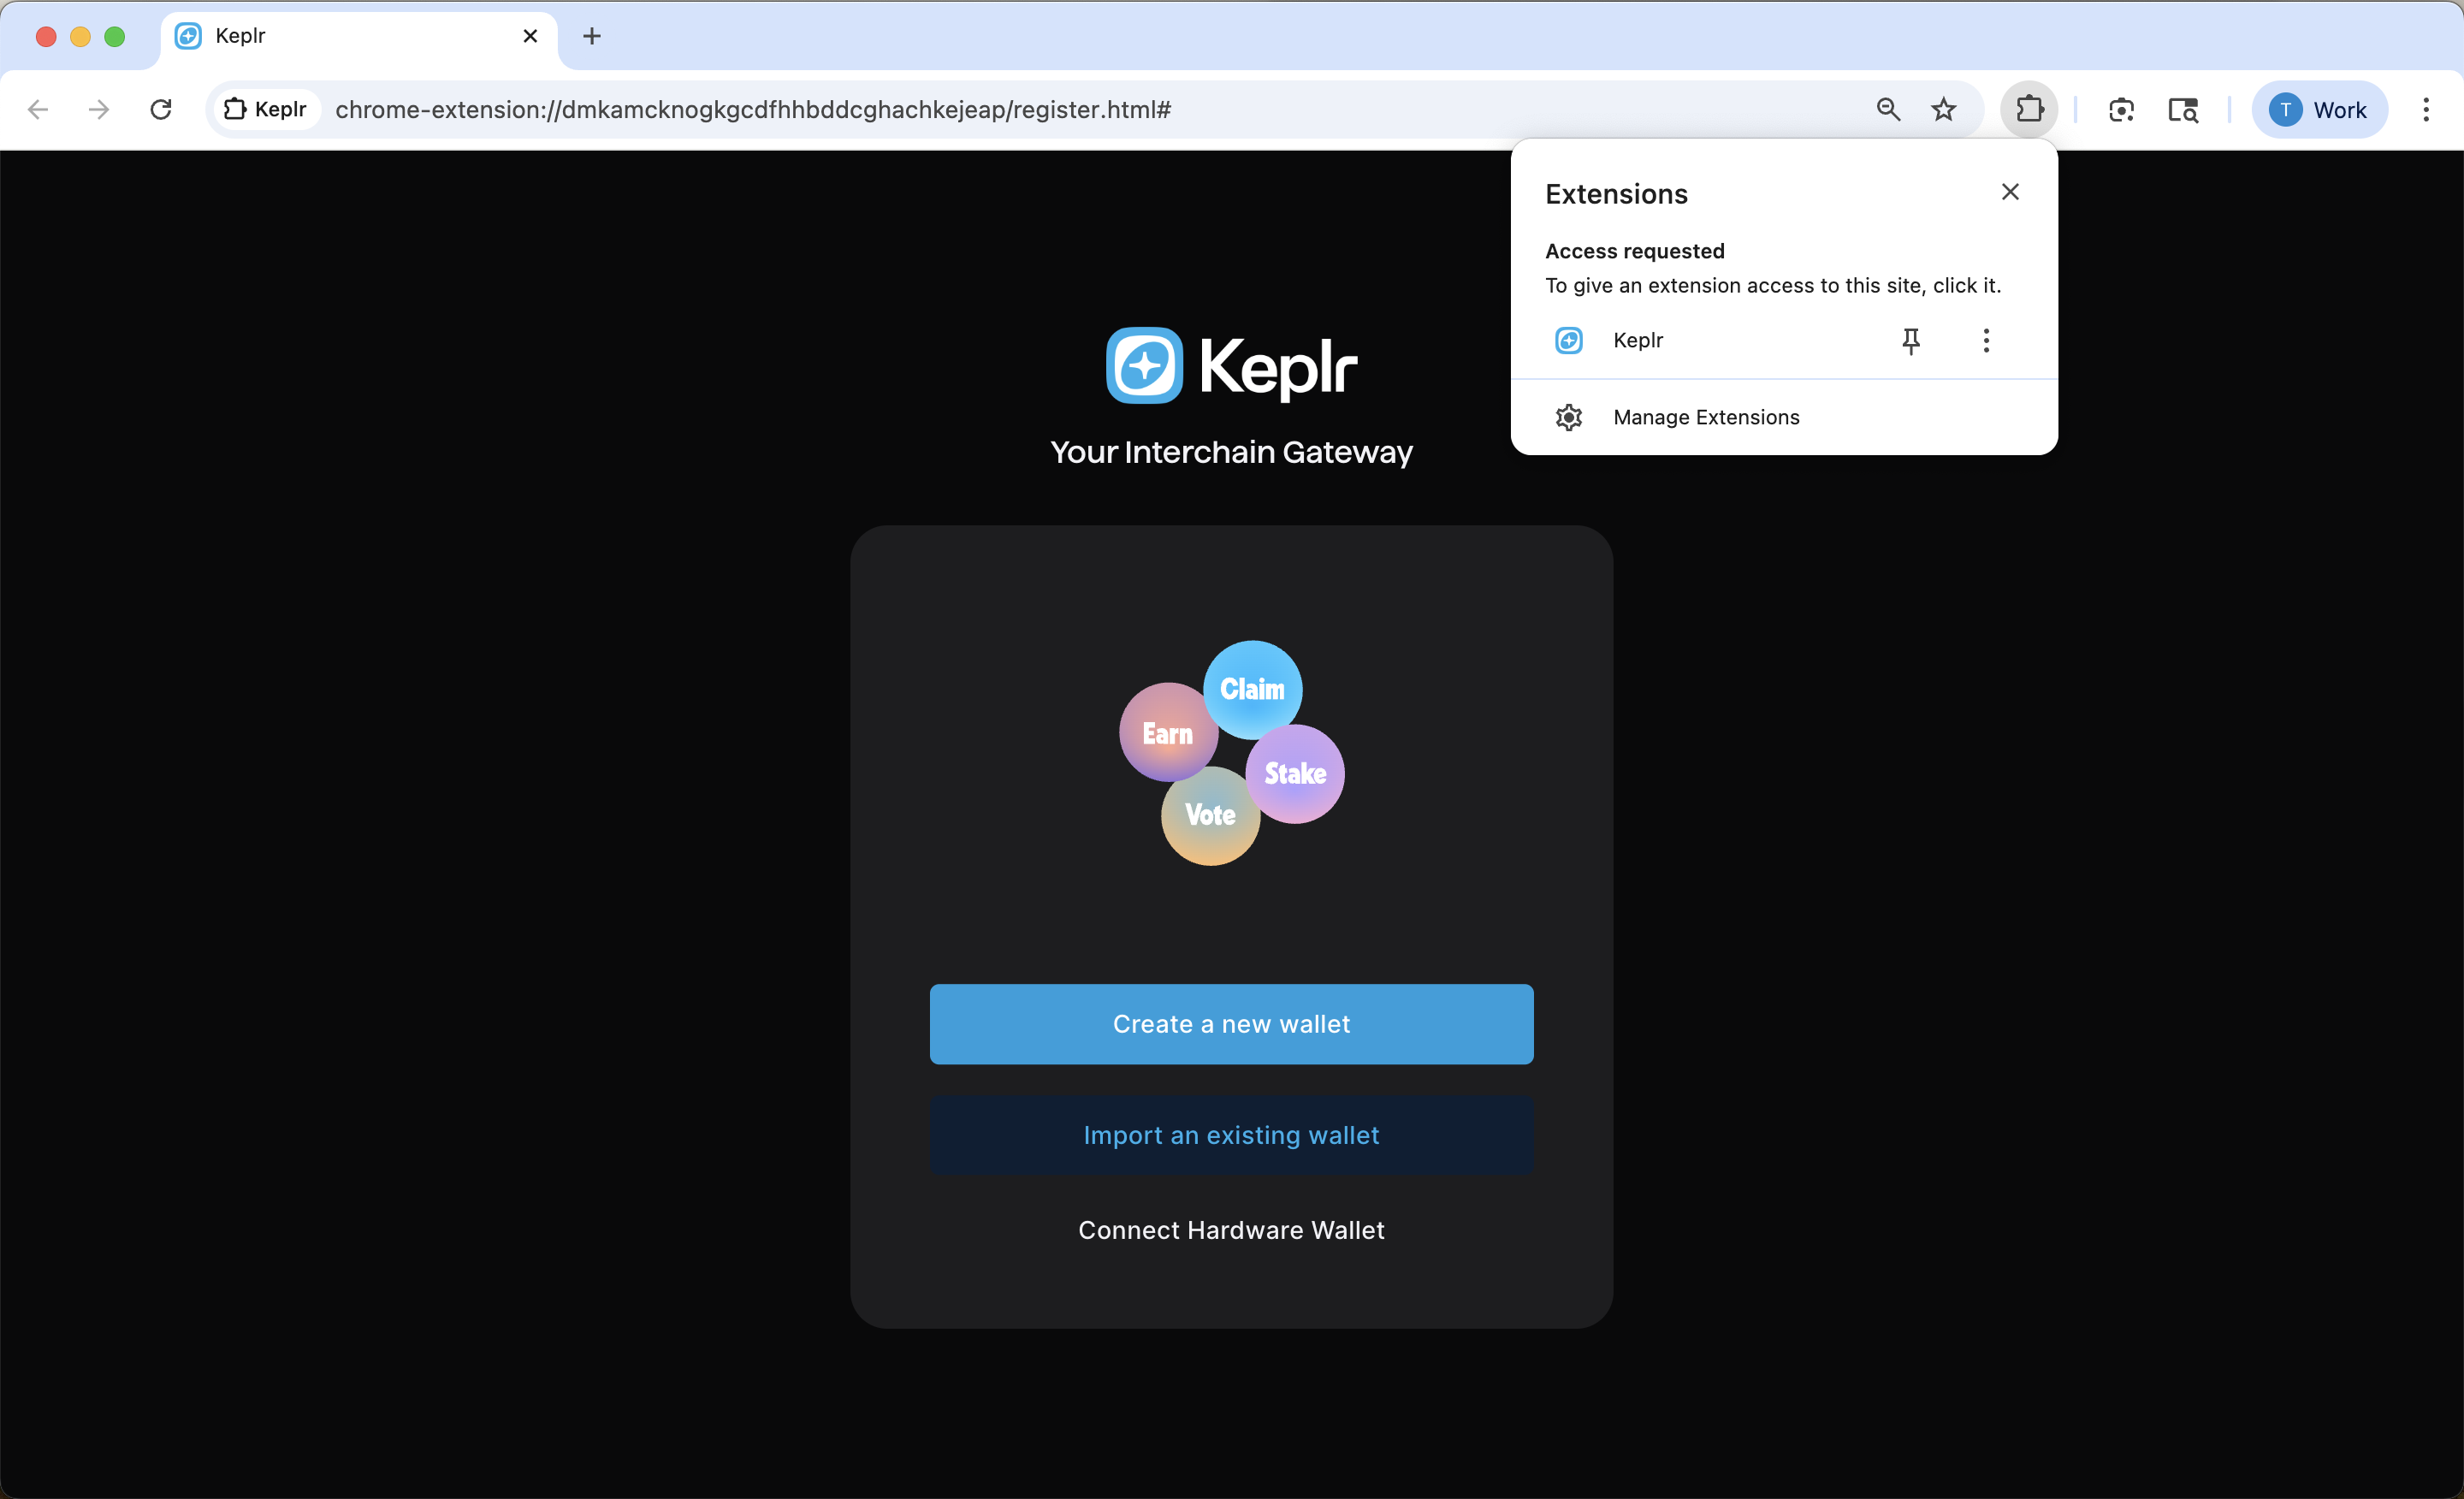
At this point, the extension is installed, but not yet connected to your wallet. Next, open the extension and log in to your wallet. Once you are logged in, follow the steps below to continue with the setup process.
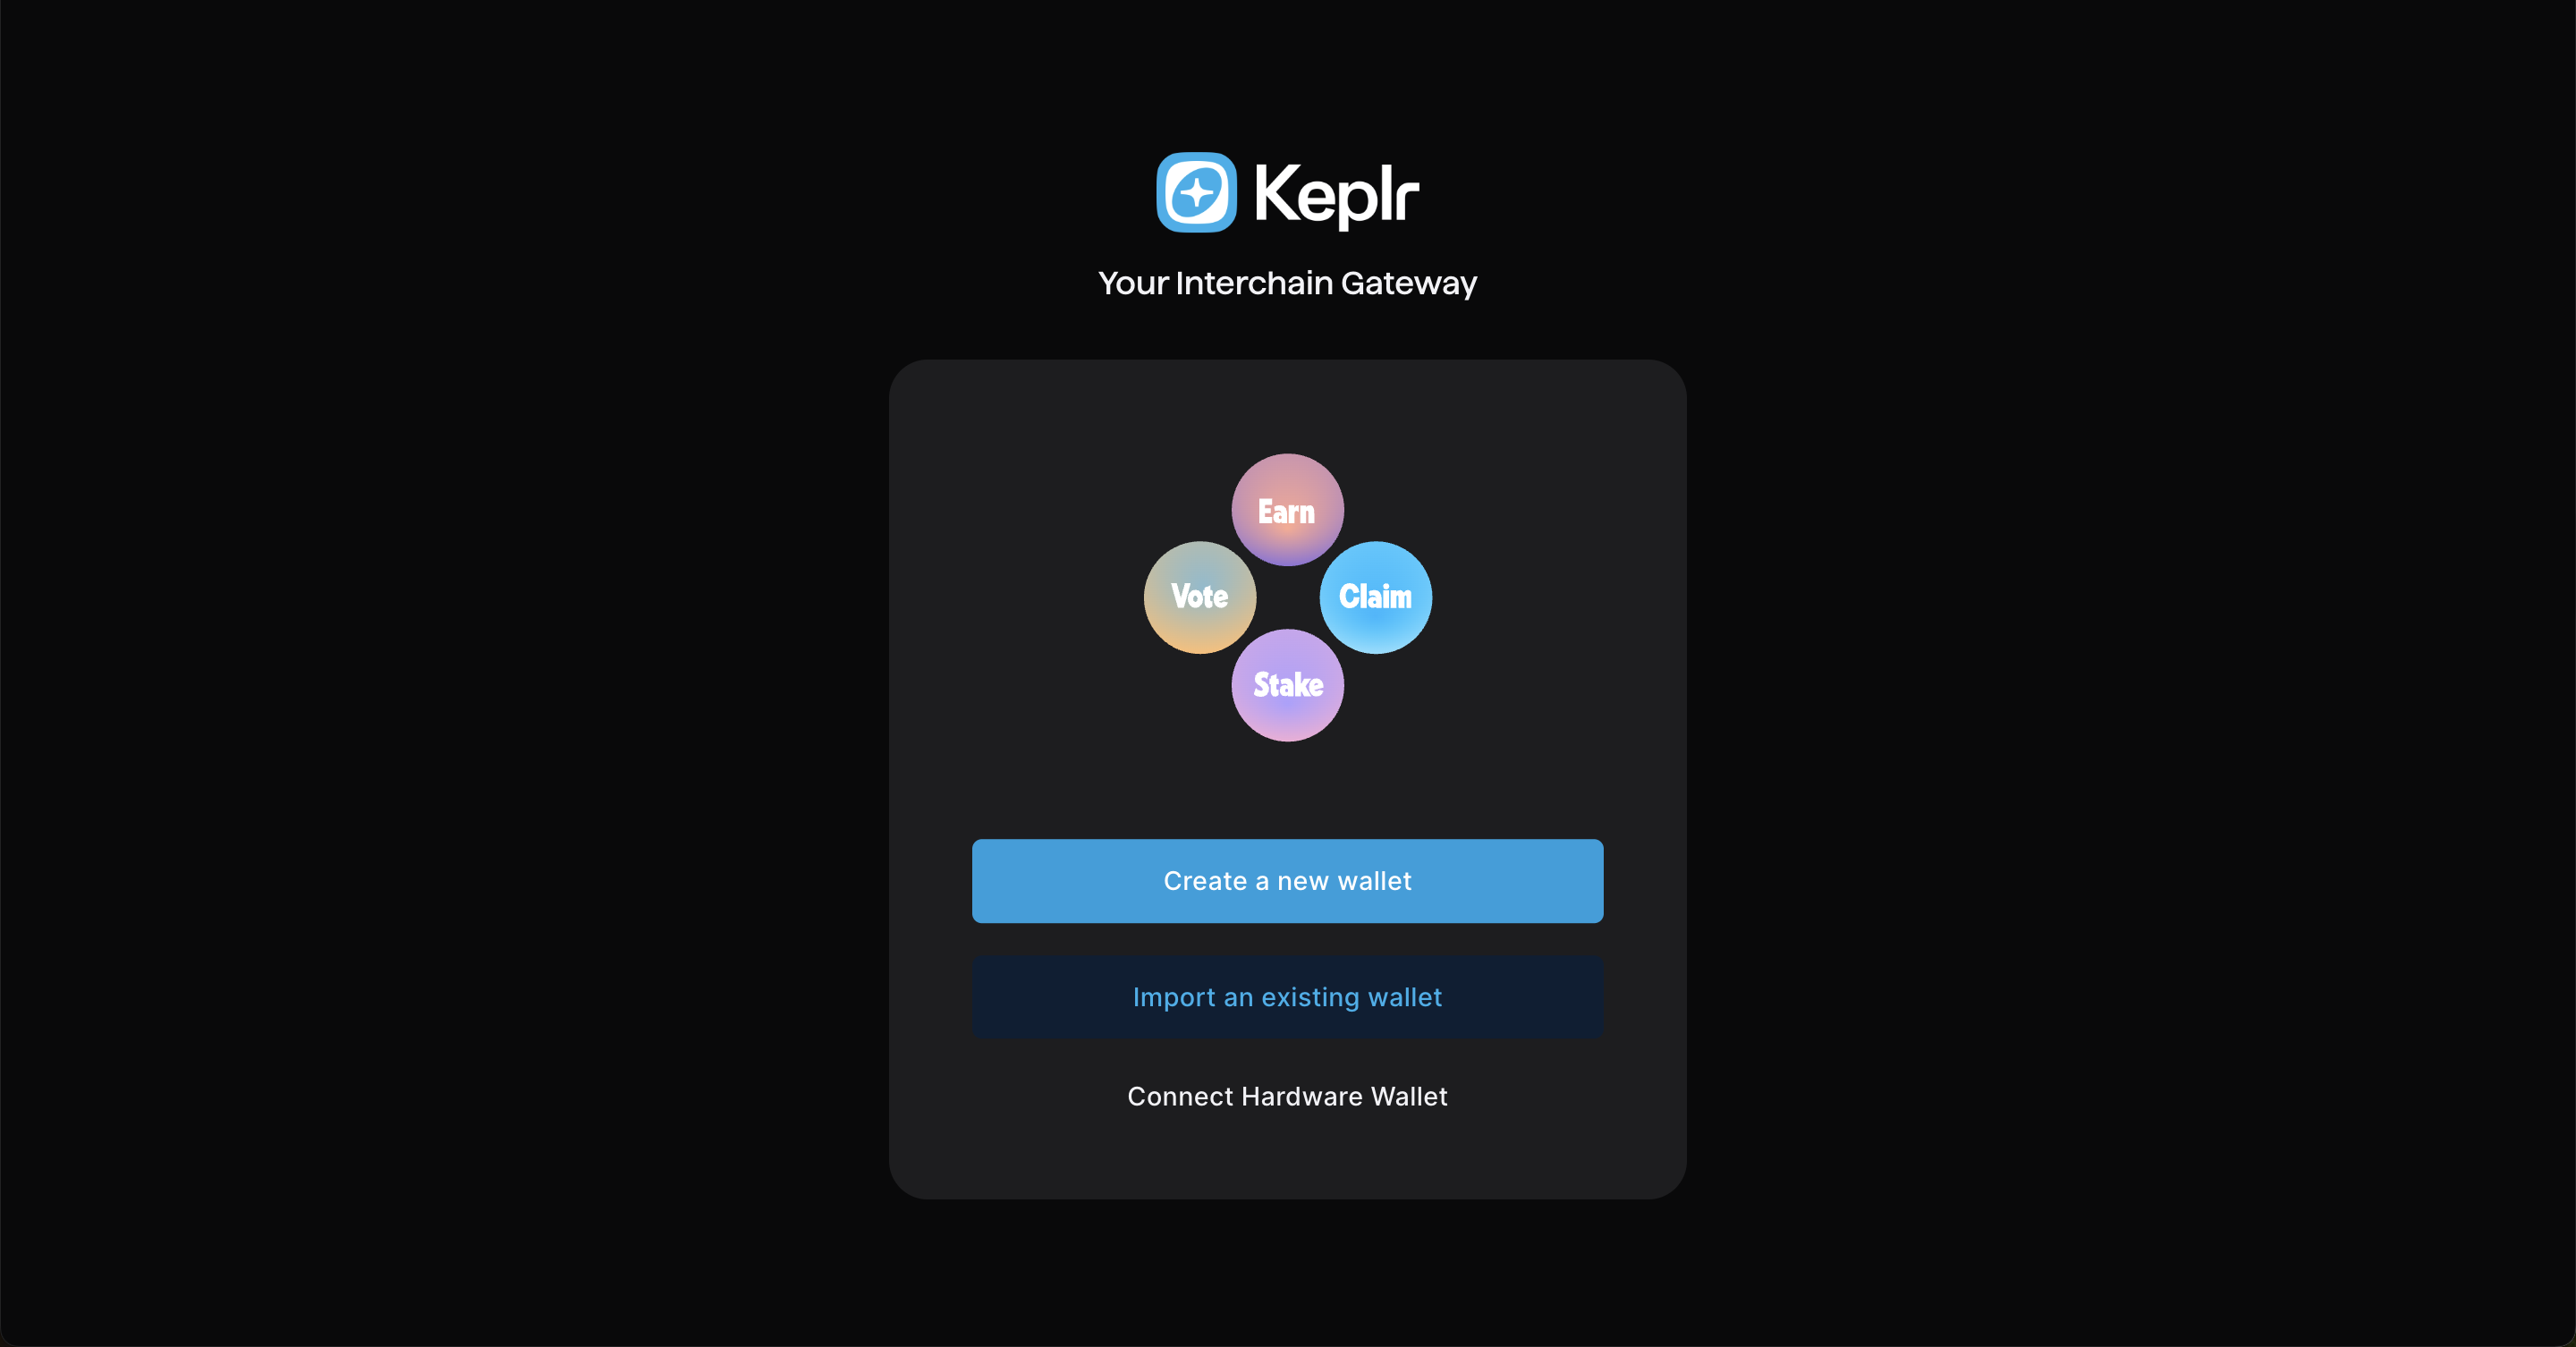
Click "Import an Existing Wallet".
Click "Use recovery phrase or private key"
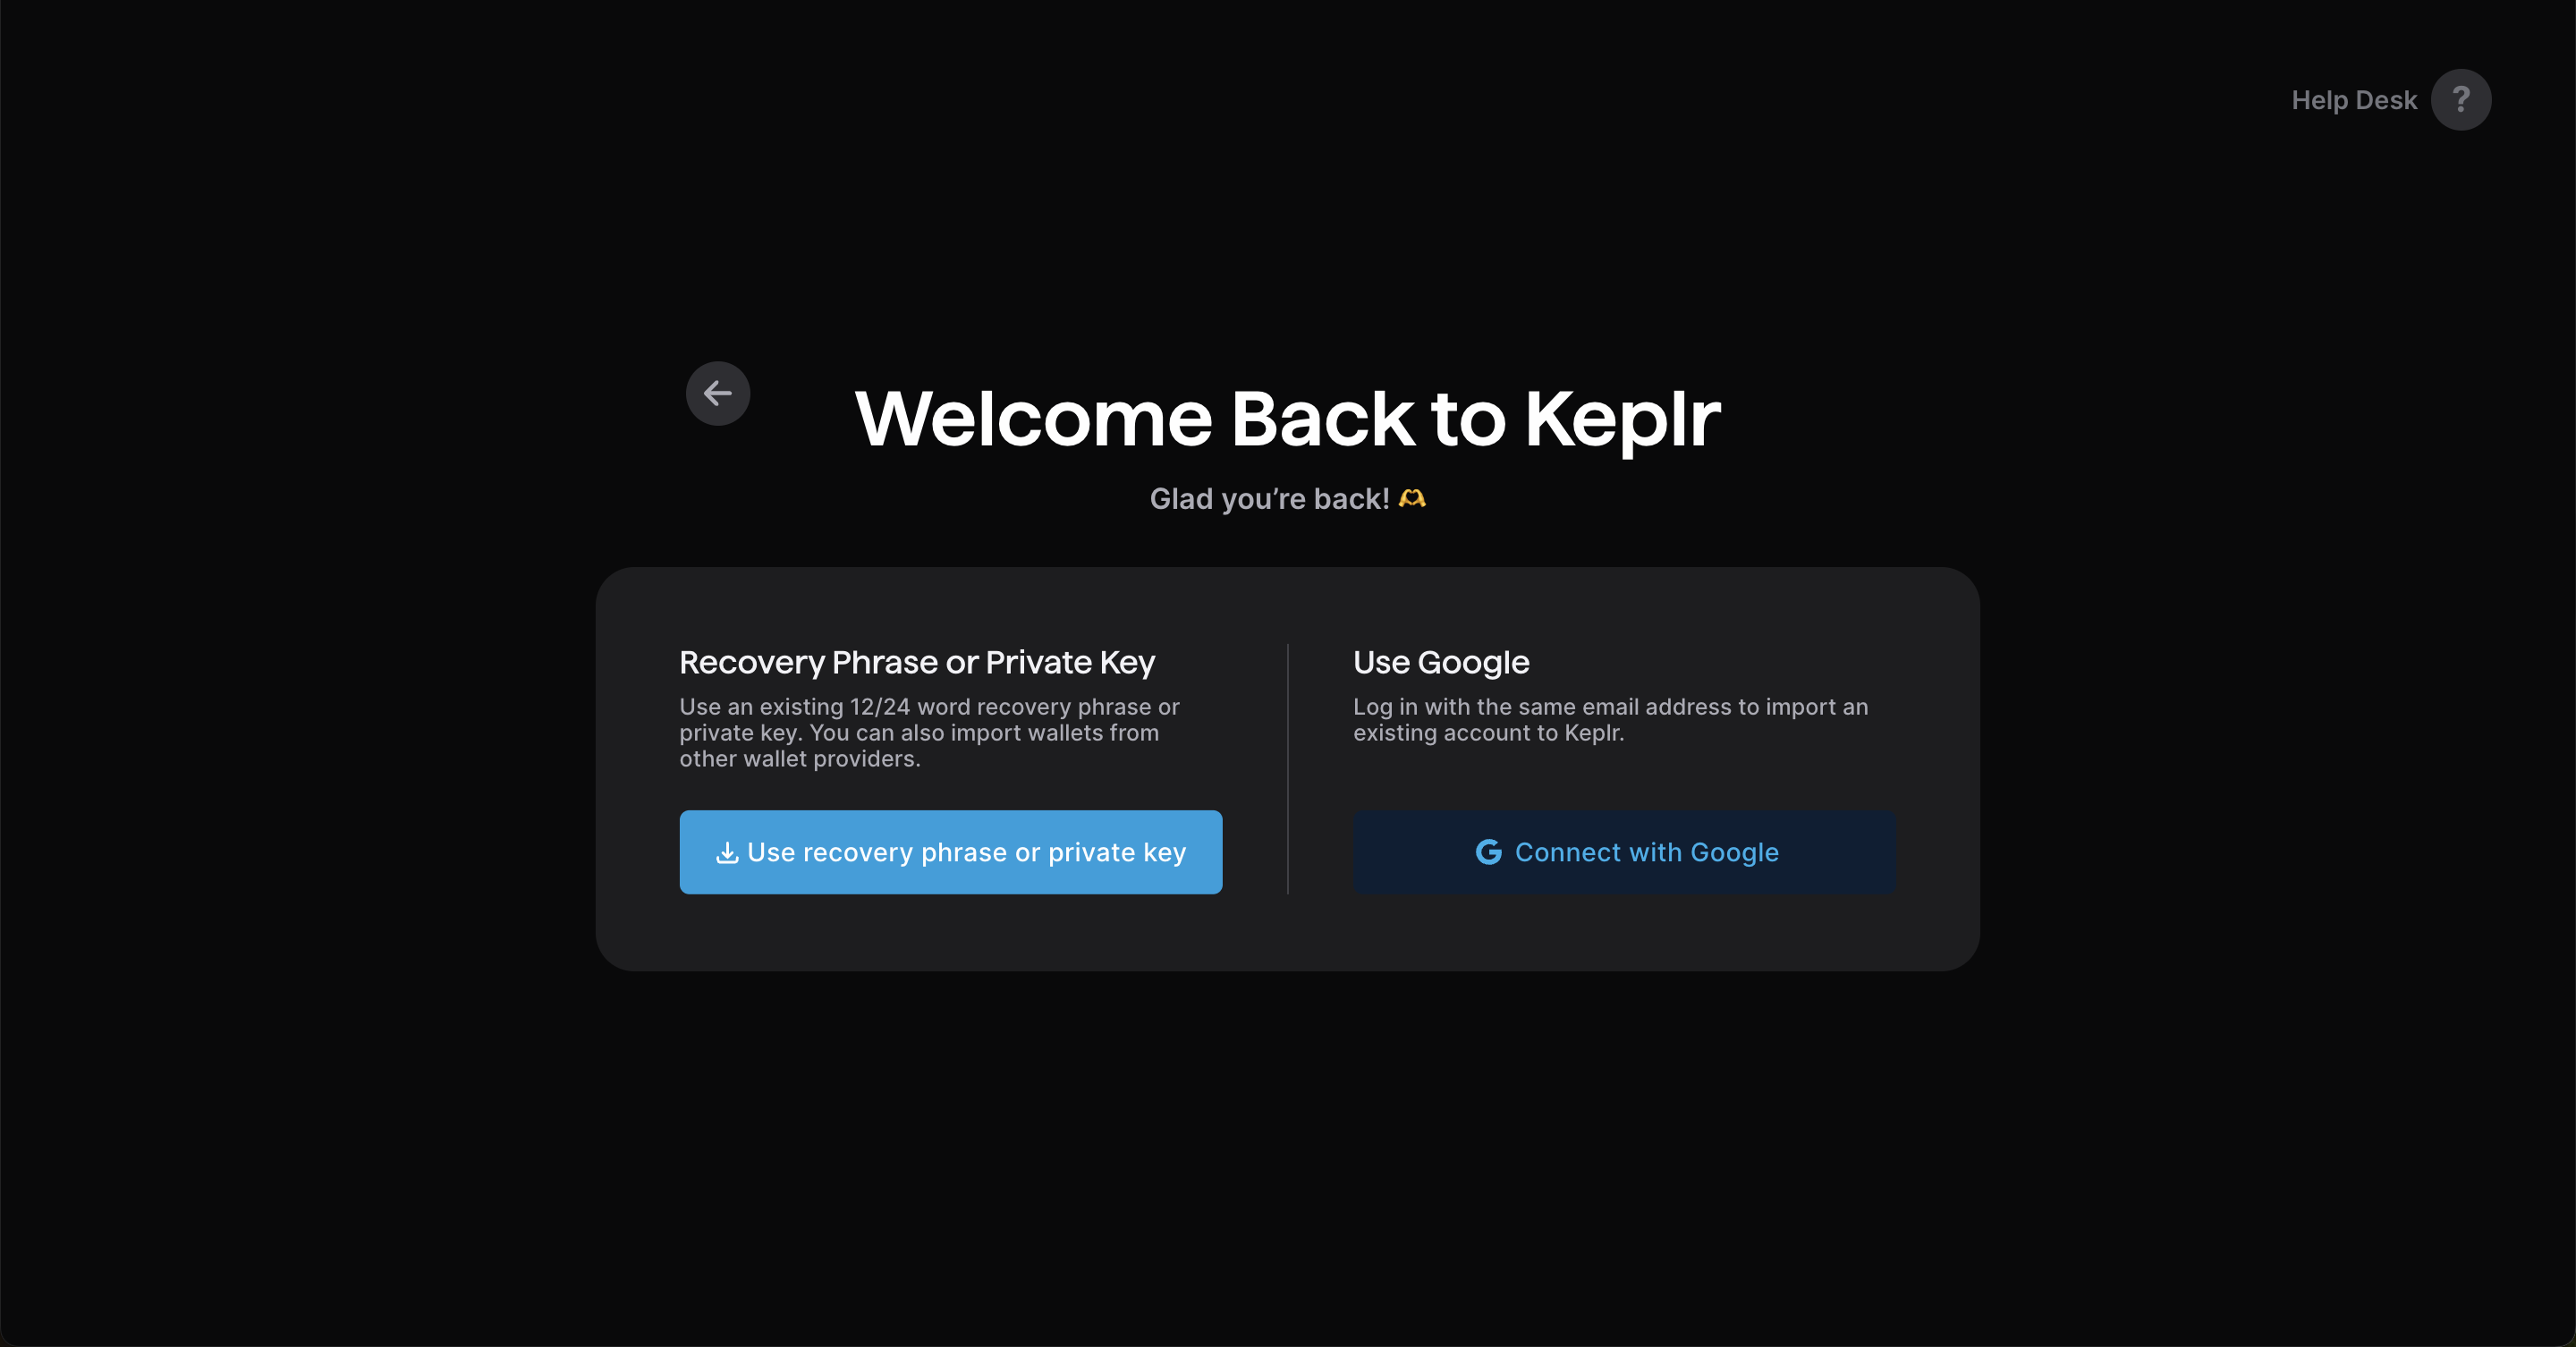
Paste your private key.
Important note on wallet-bridge compatibility
The bridge currently expects a specific account setup. Some wallets may let you create a Gonka account and even export a private key, but that does not always mean the account will work correctly with the bridge. For bridge use, please create your Gonka account in one of the following ways:
- With the
inferencedCLI tool - In Keplr using the “Connect with Google” flow
These are the recommended and supported options for users who need Ethereum bridge compatibility. See Create a Gonka account for details.
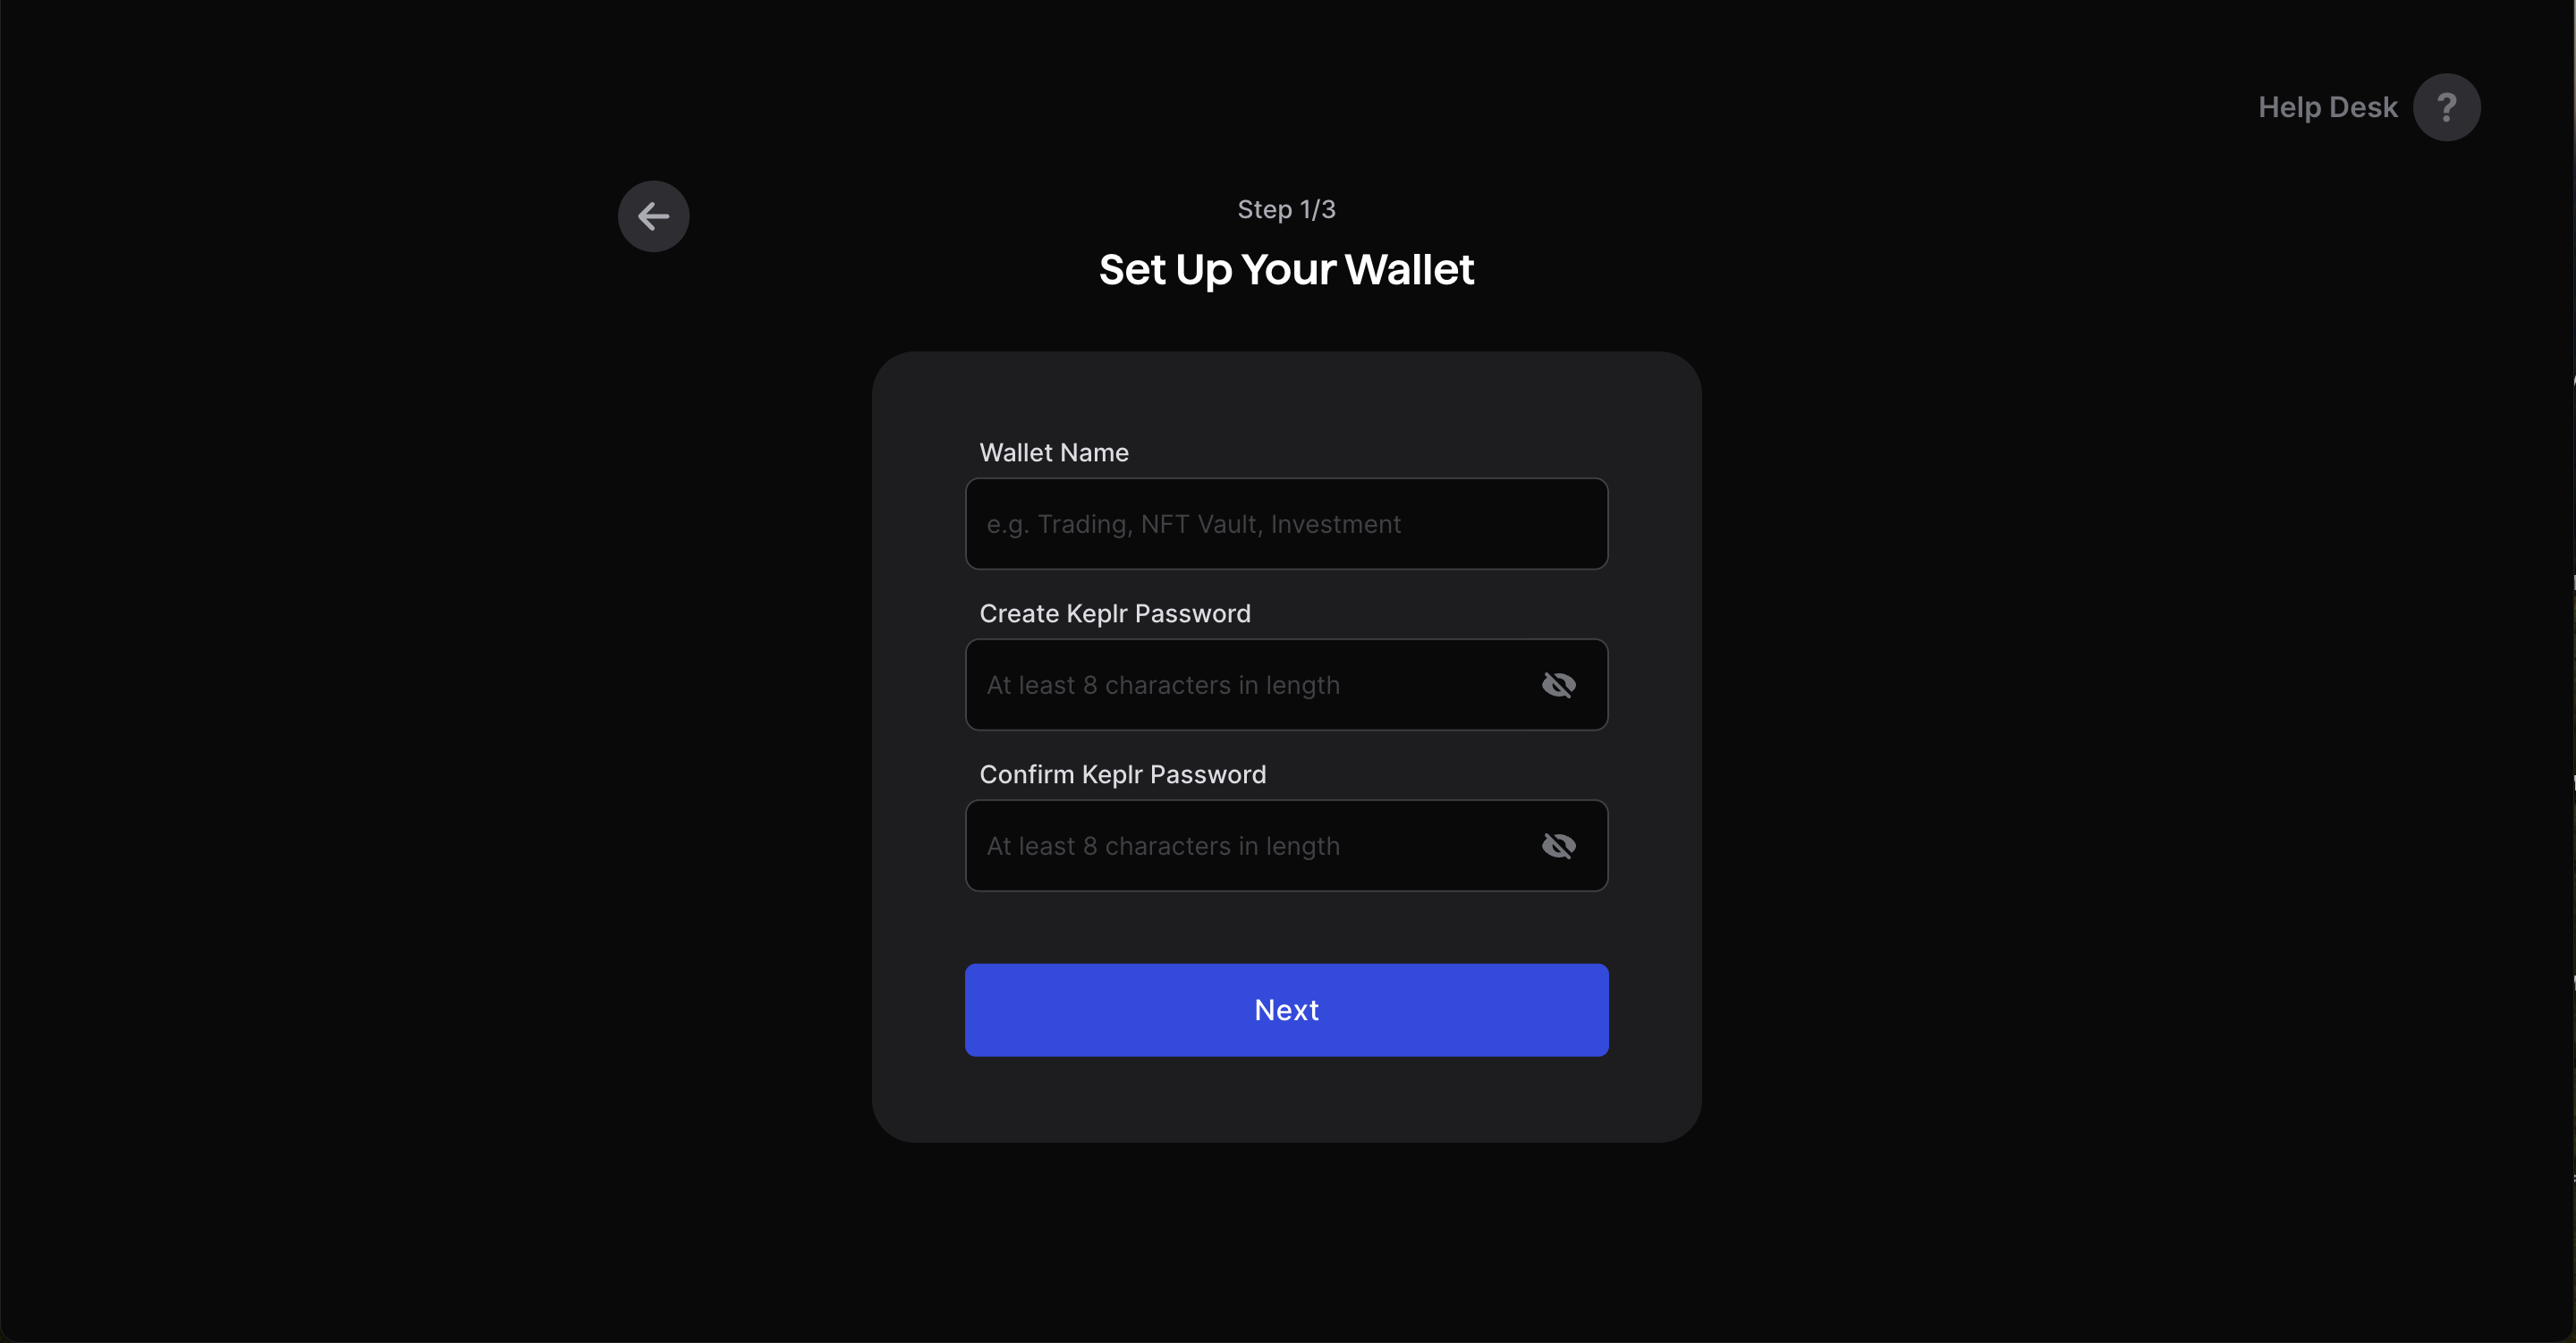
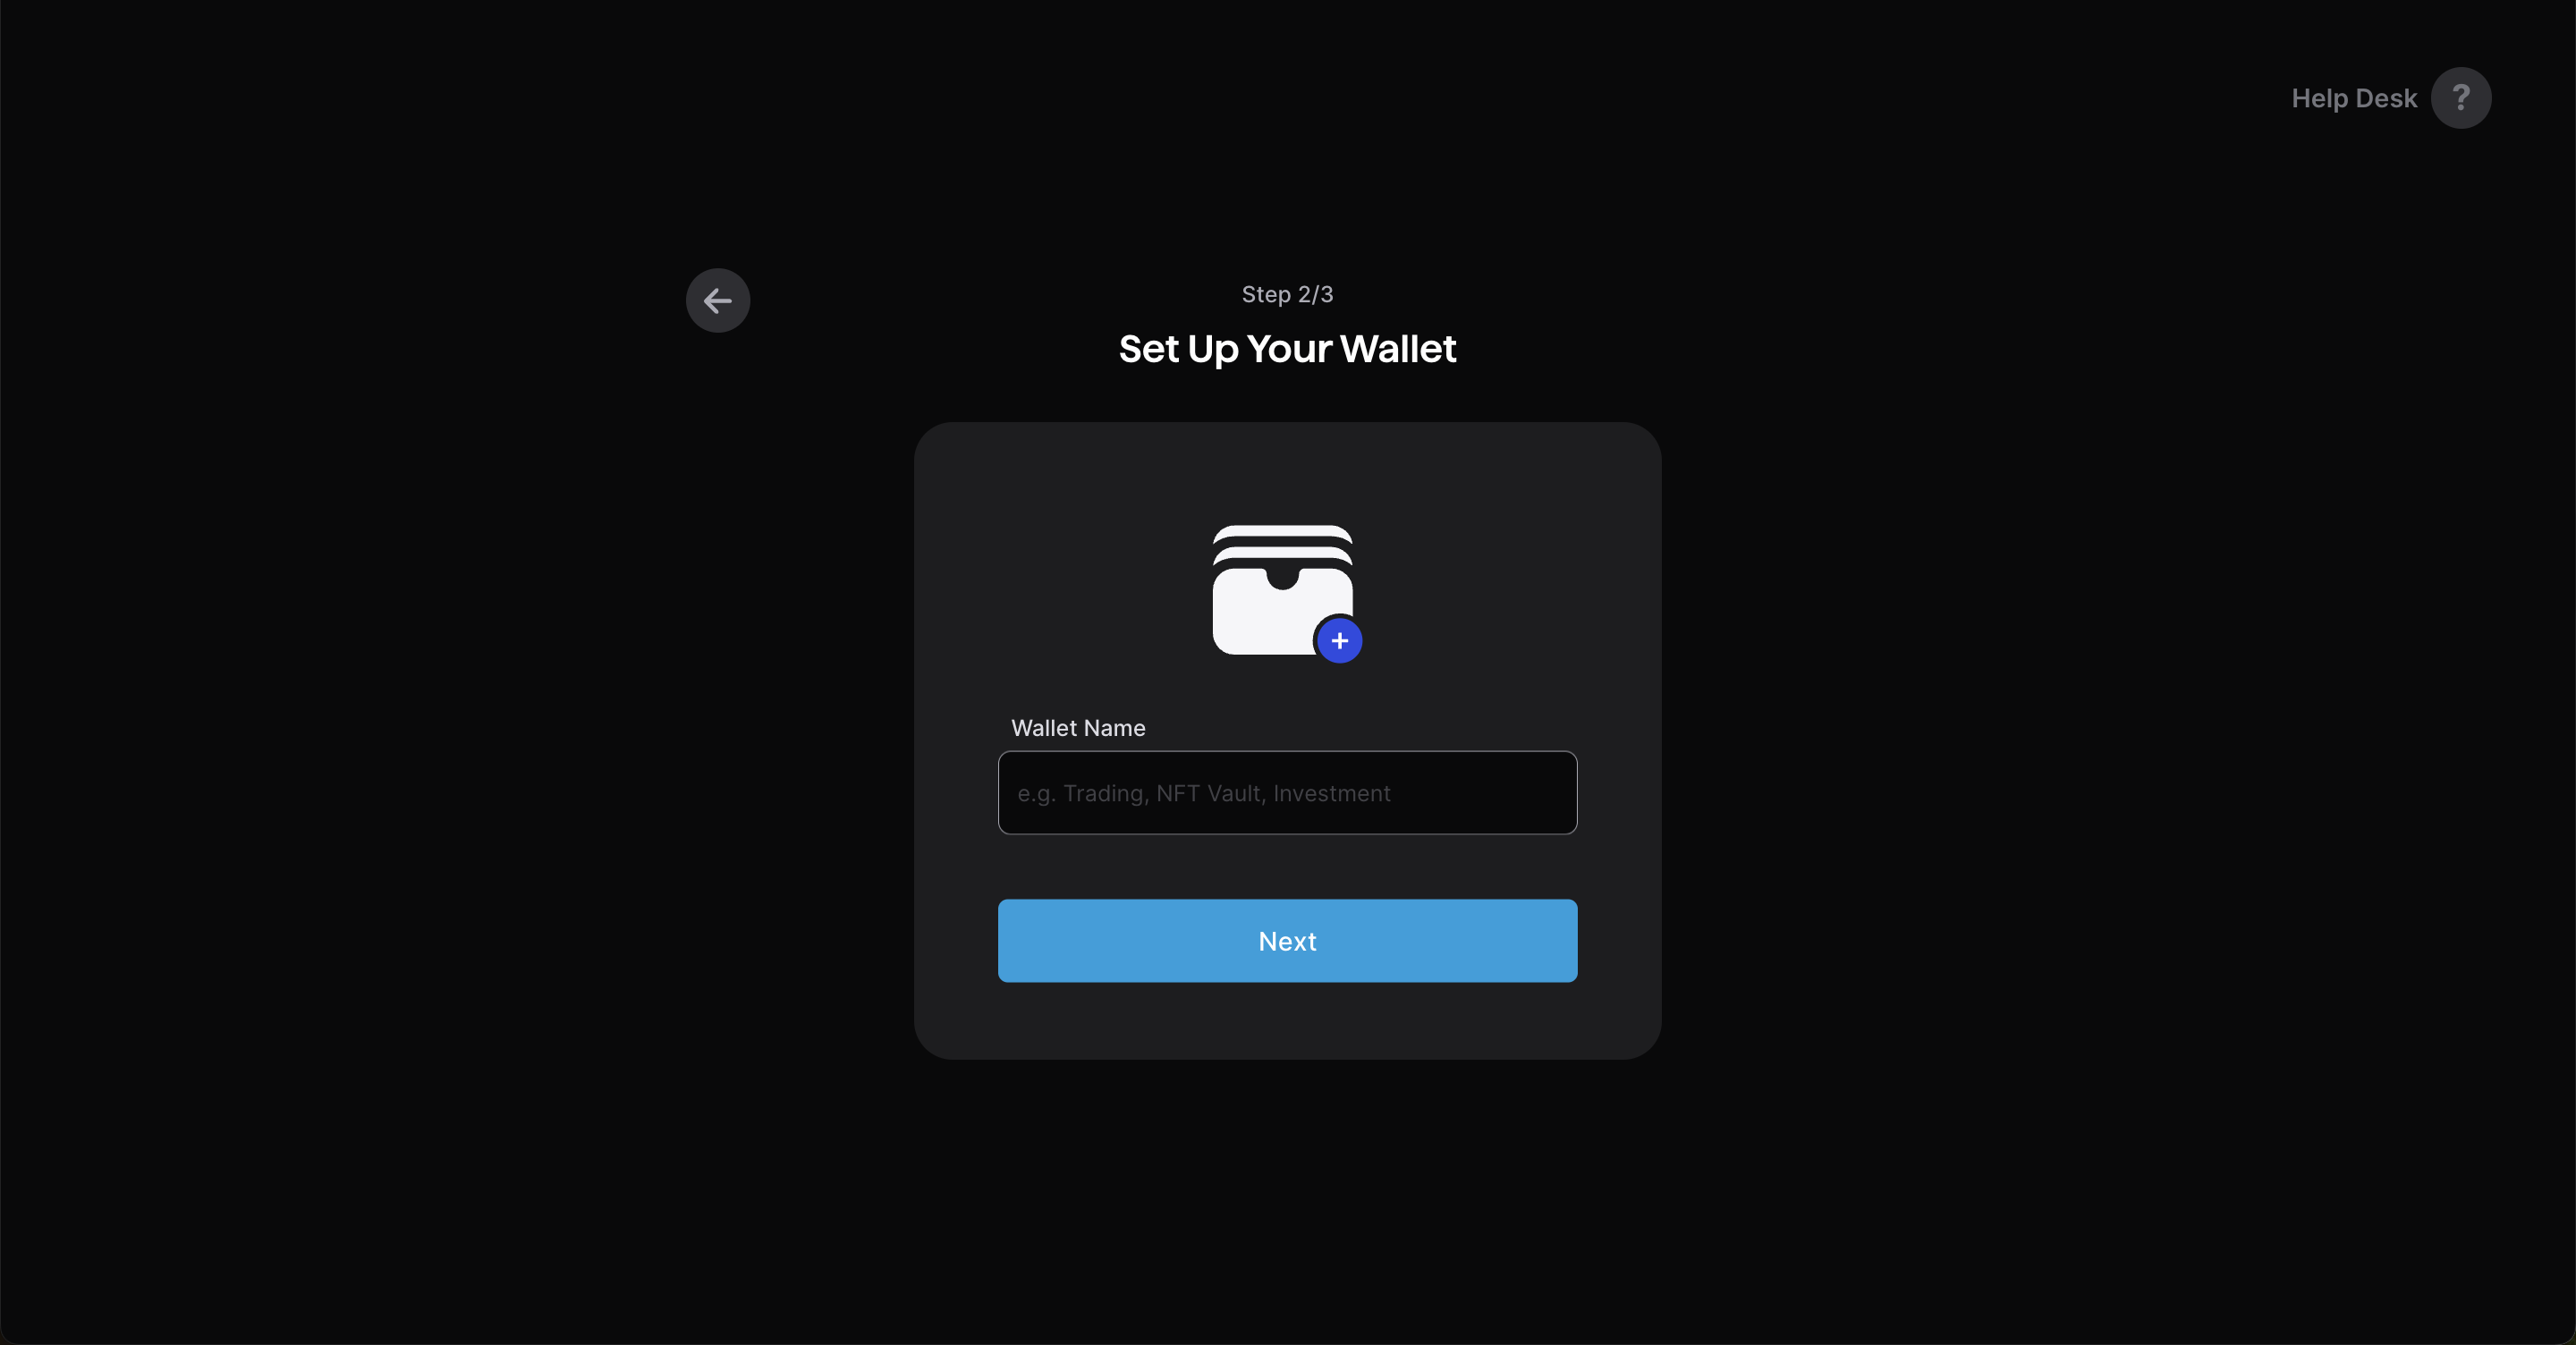
Set Up Your Wallet. Store your password in a safe and secure place.
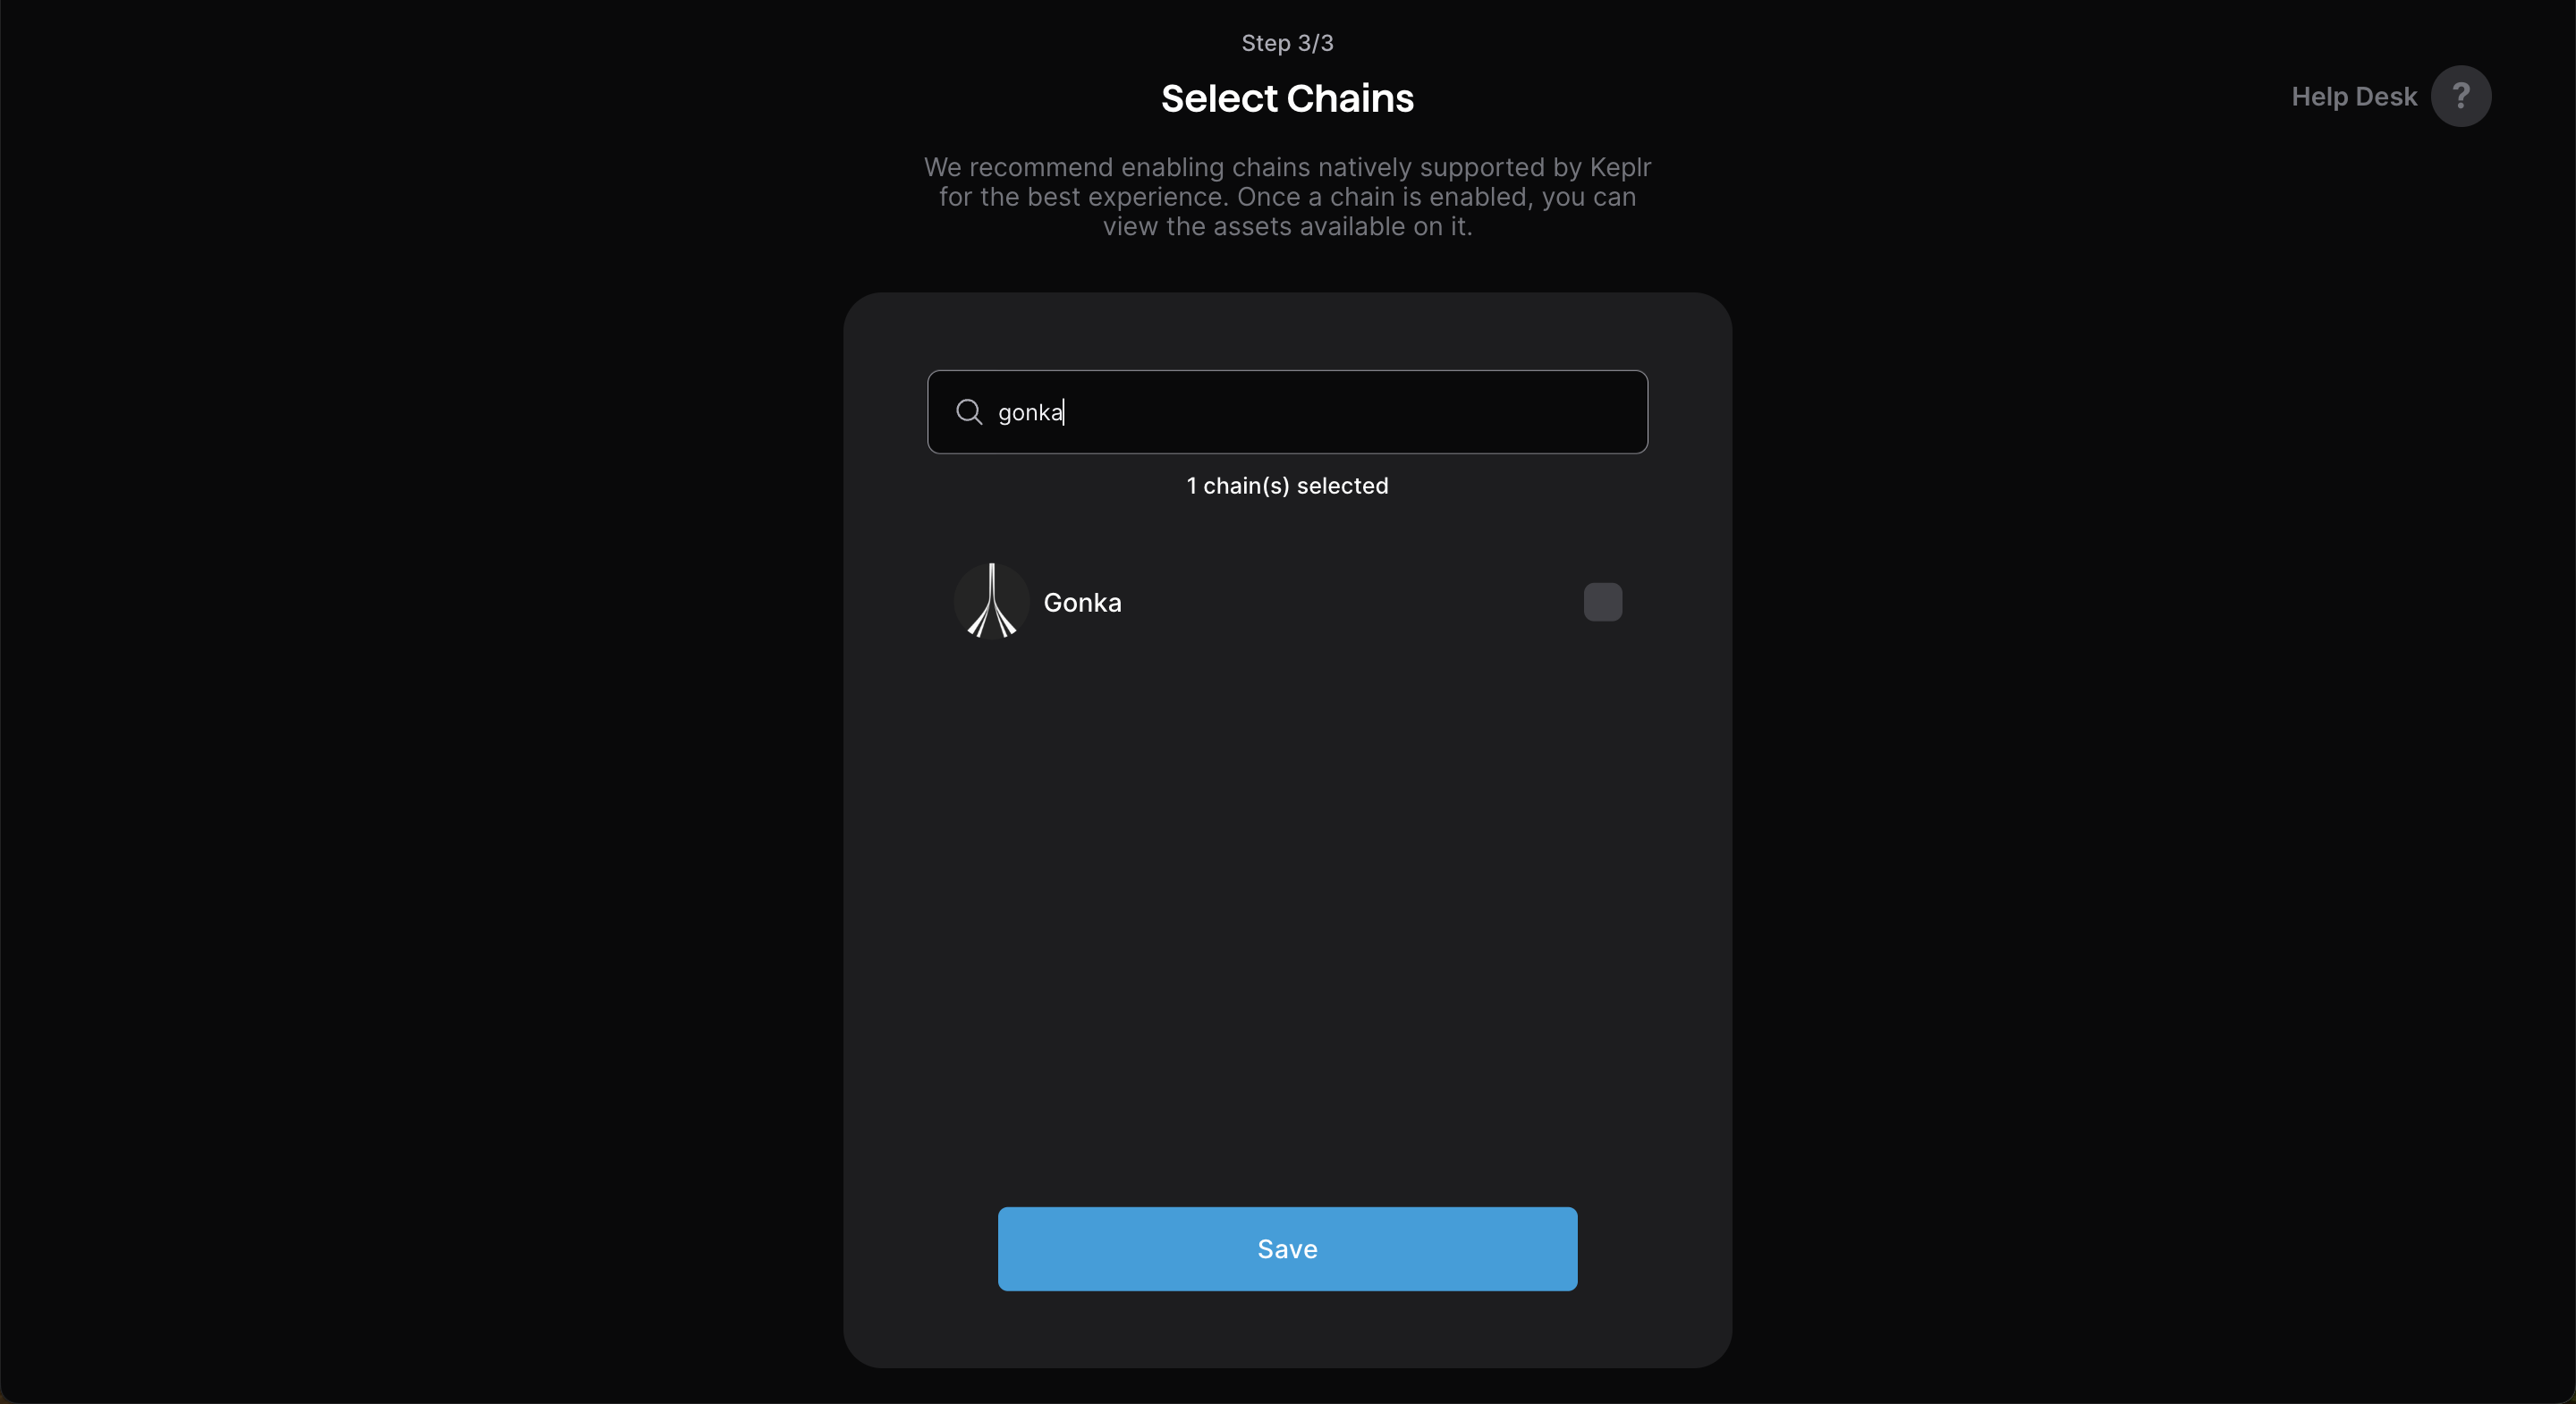
Type “Gonka” into the search bar and select Gonka chain to add it to your wallet.
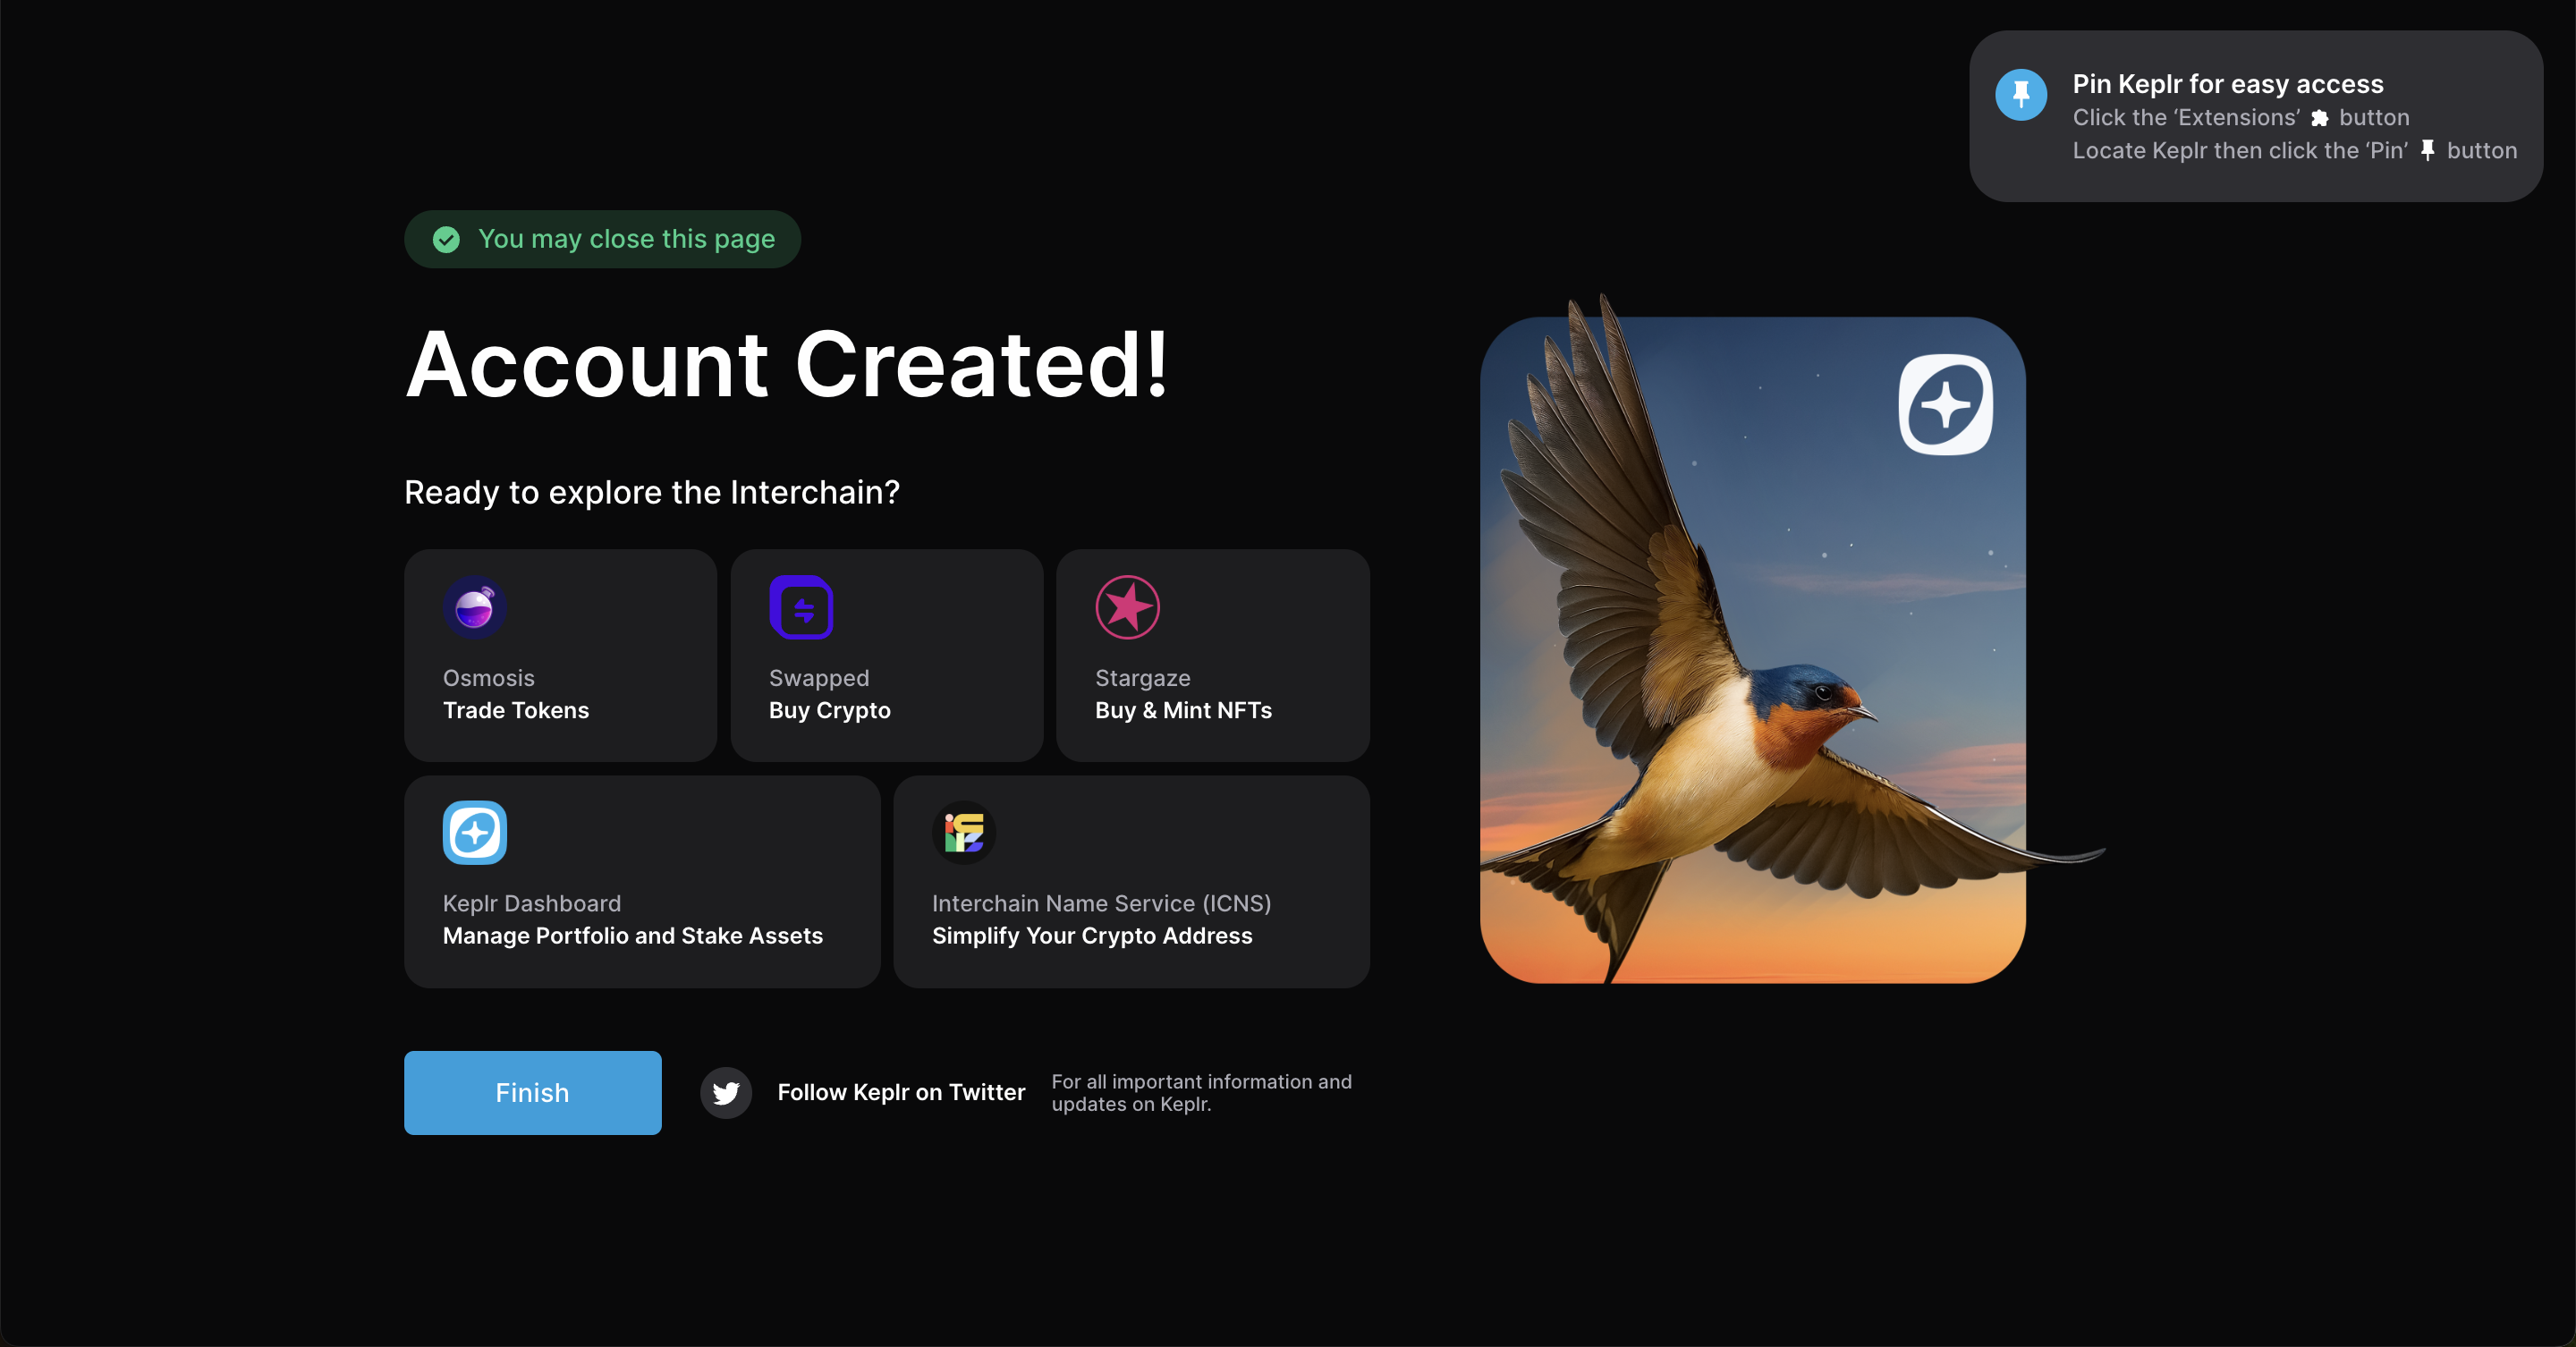
Done — your Gonka account has been successfully imported into Keplr!
3. Connect wallet
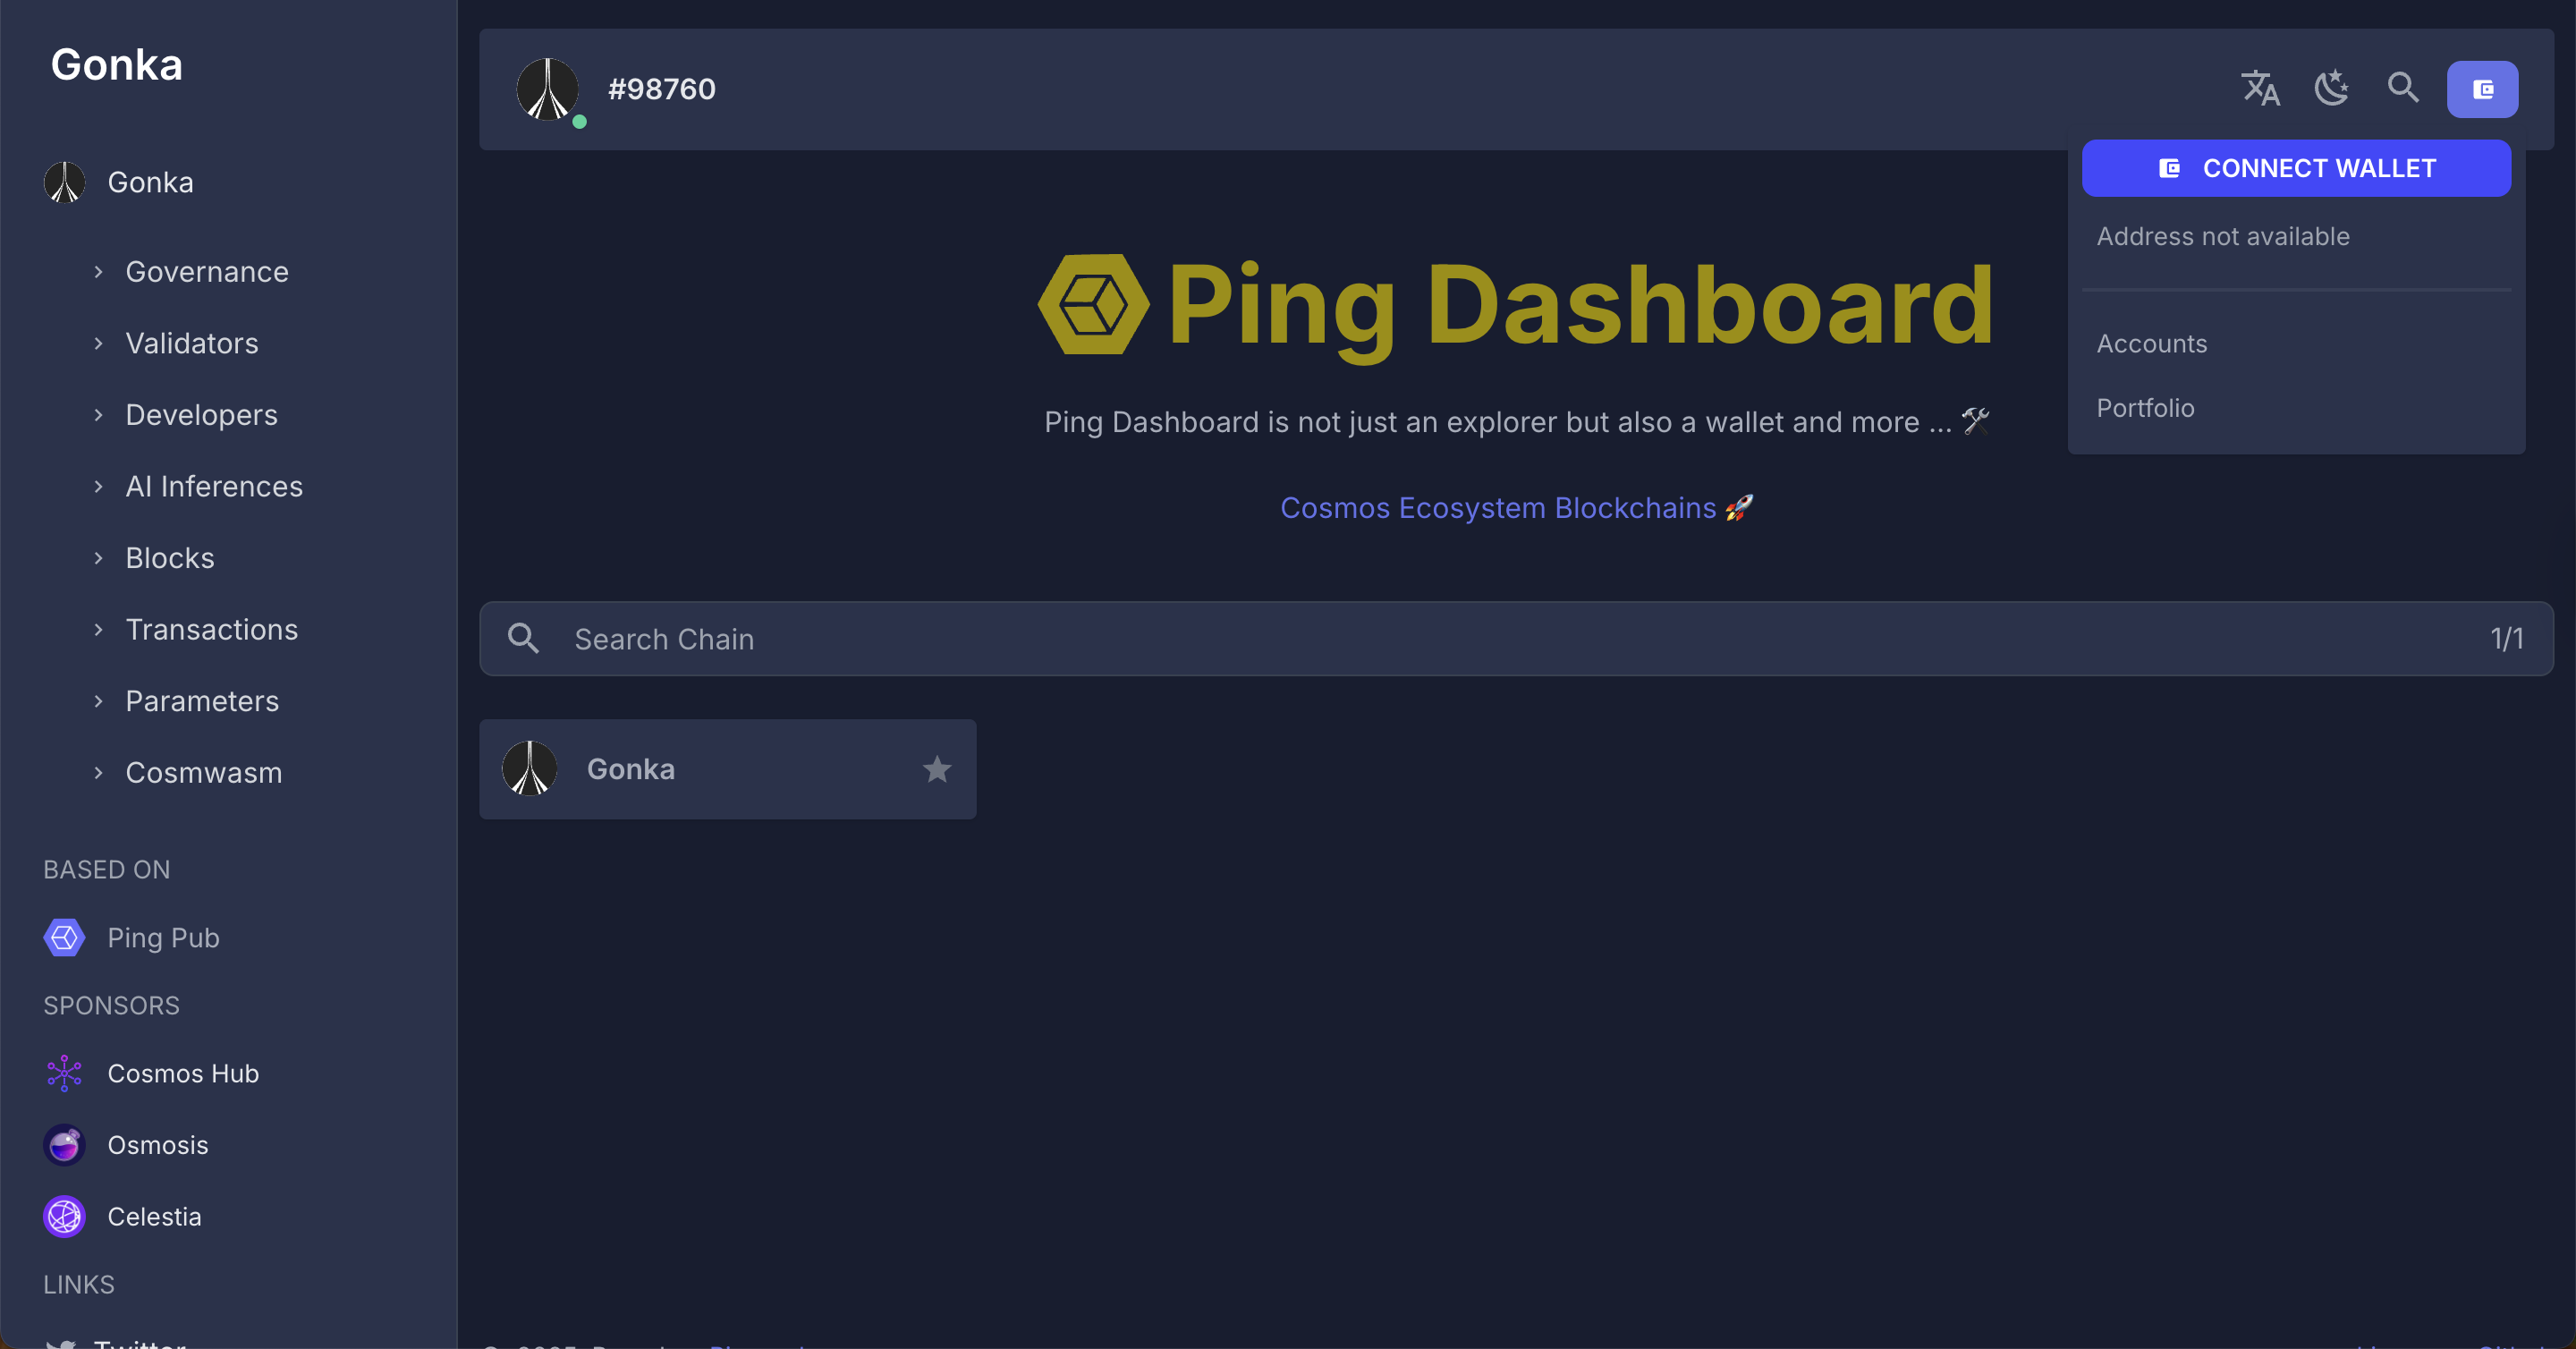
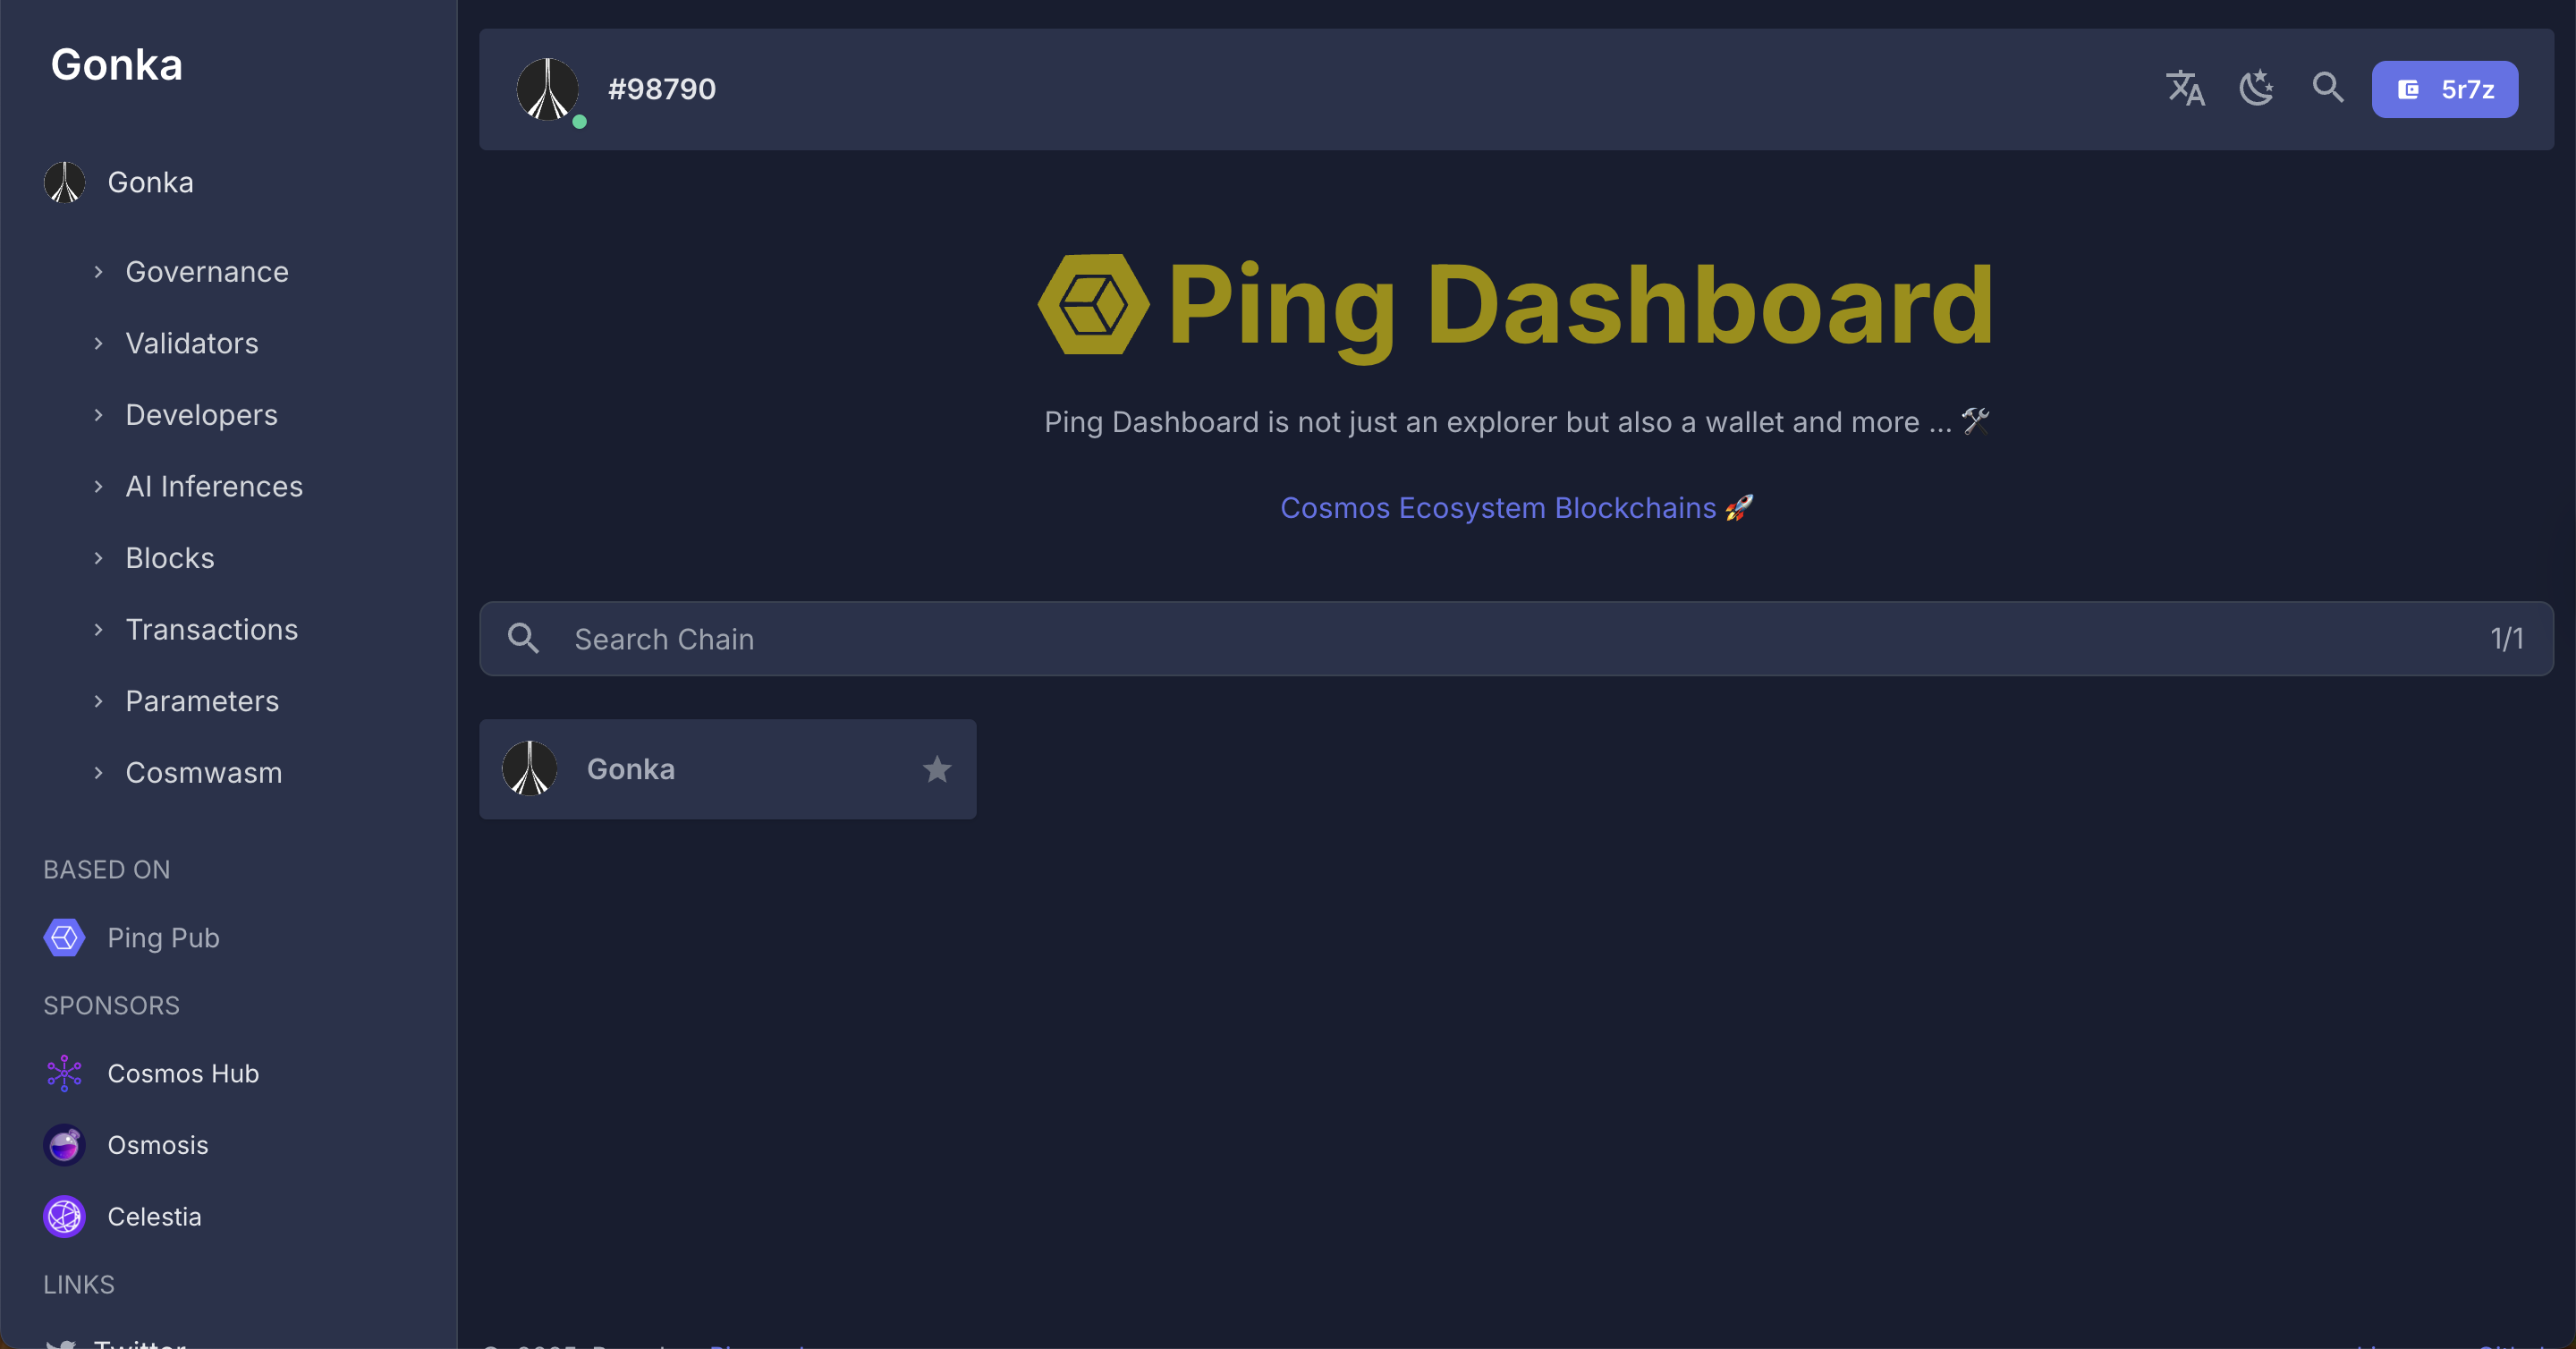
3.1. Open Gonka dashboard following the preview mode instructions.
3.2. In the top-right corner, click "Connect Wallet" to get started.
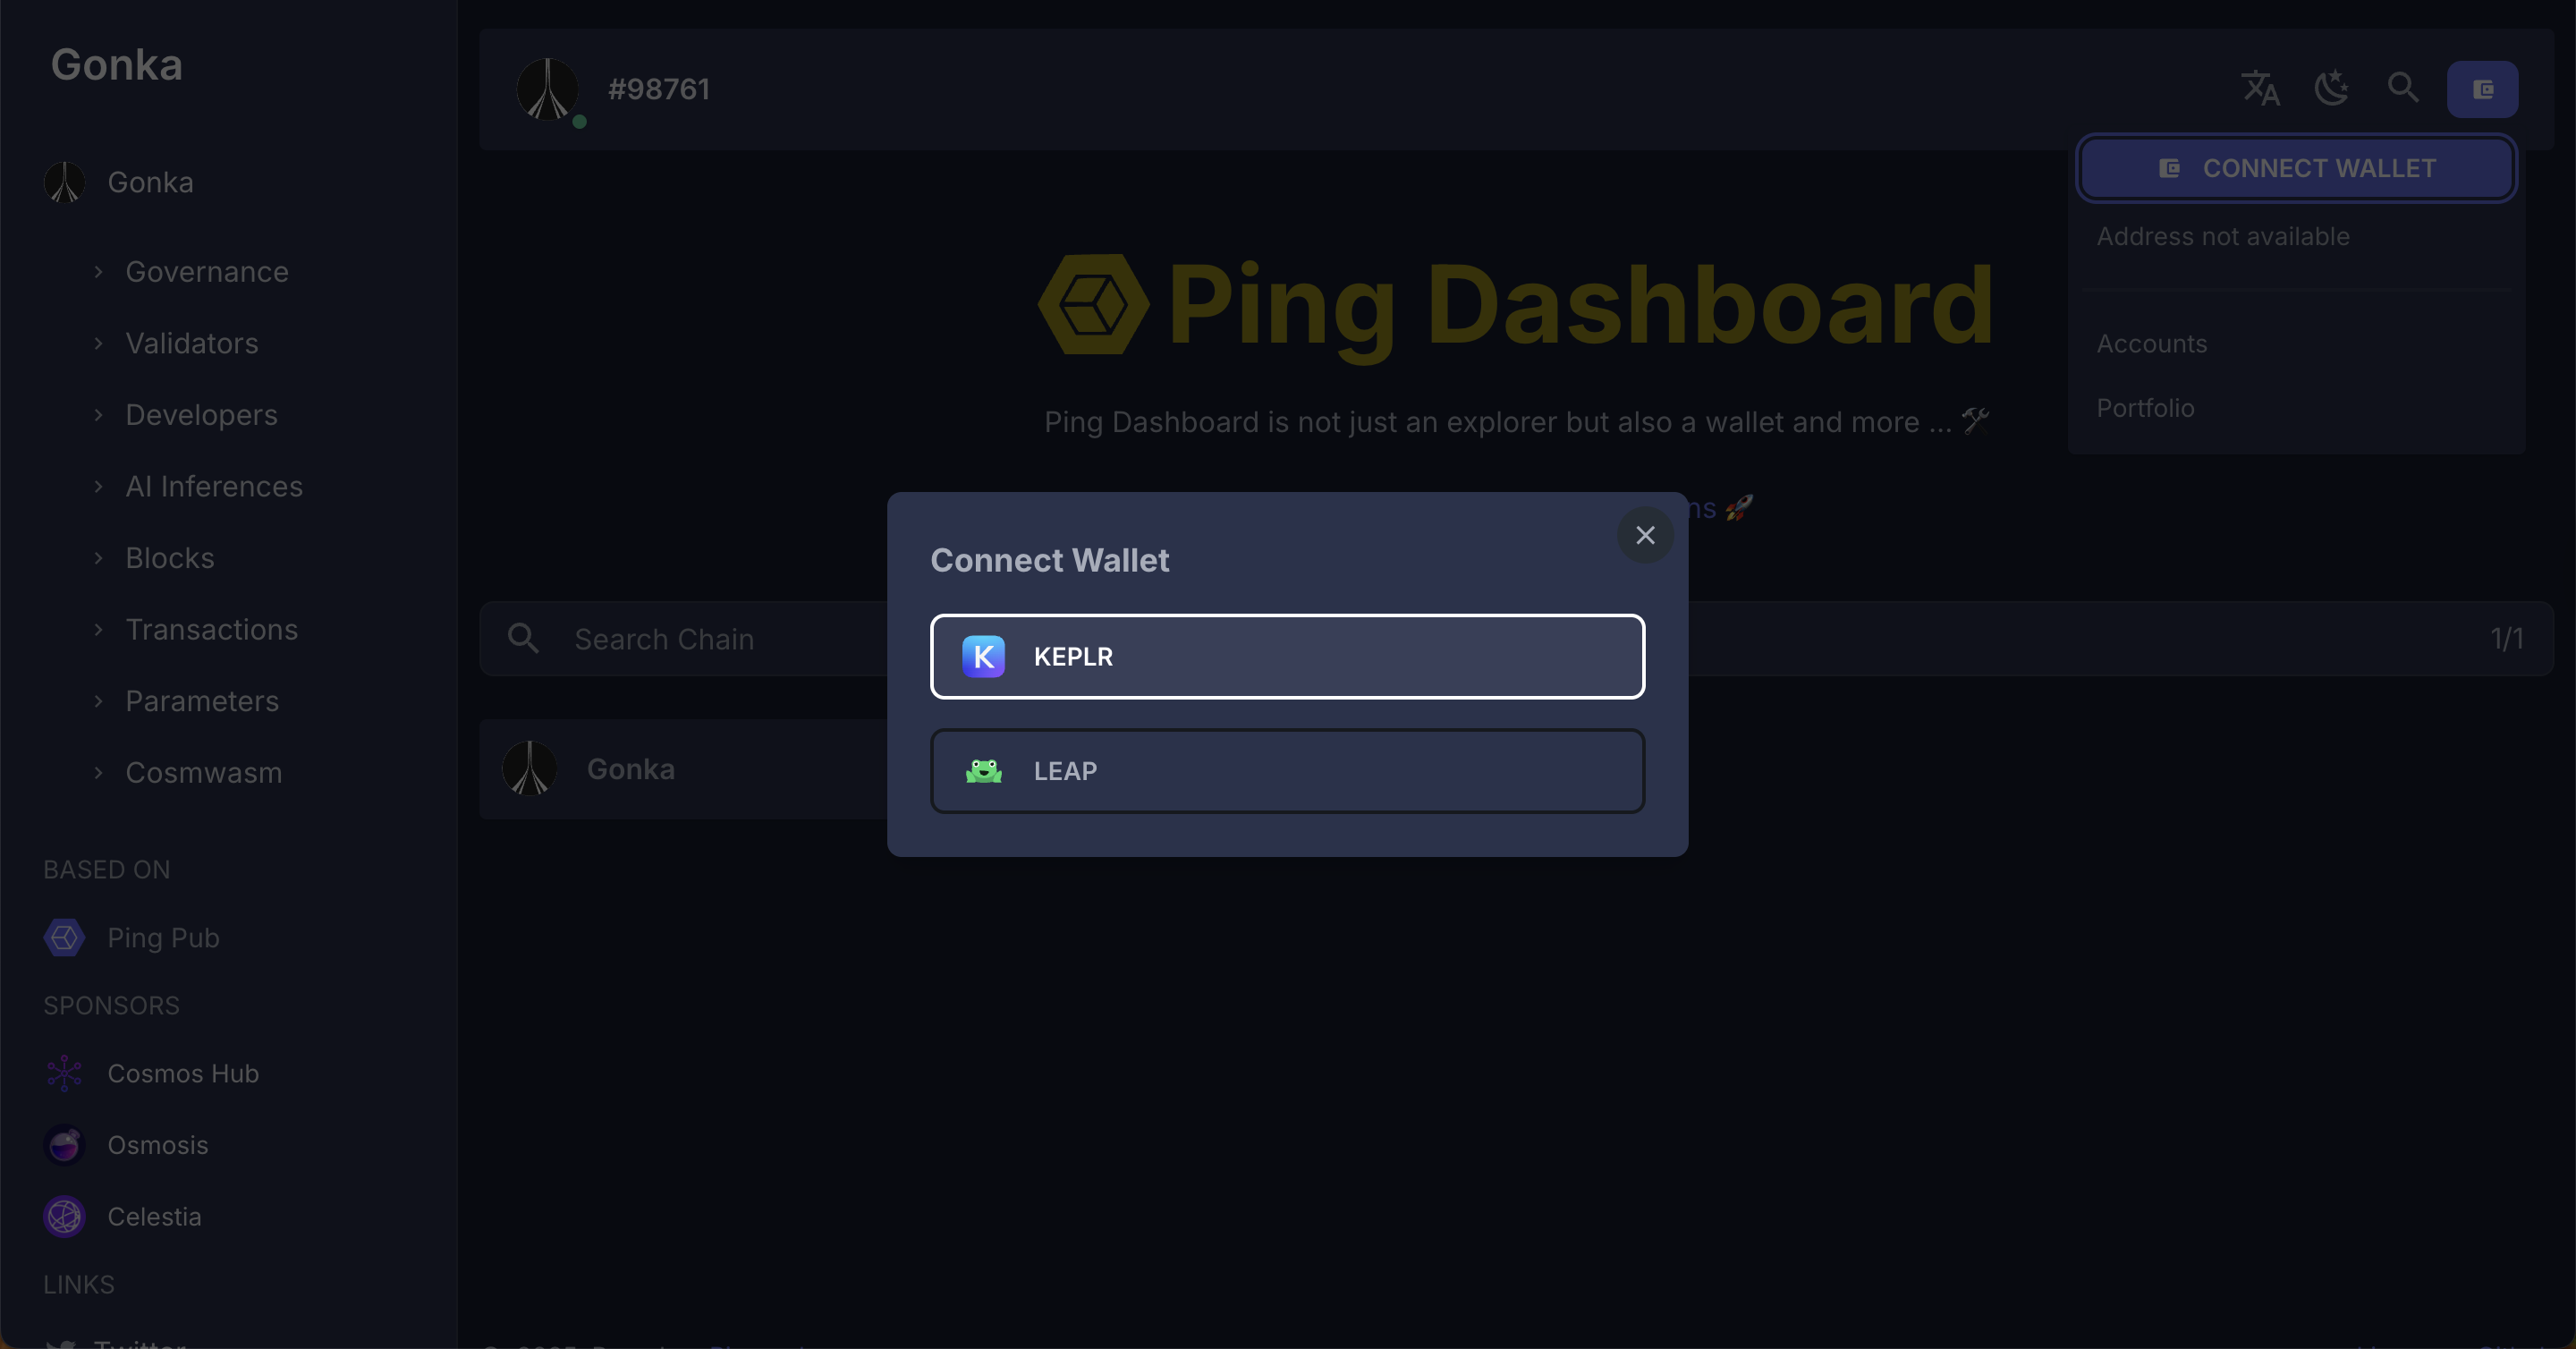
3.3. Select Keplr and hit Connect.
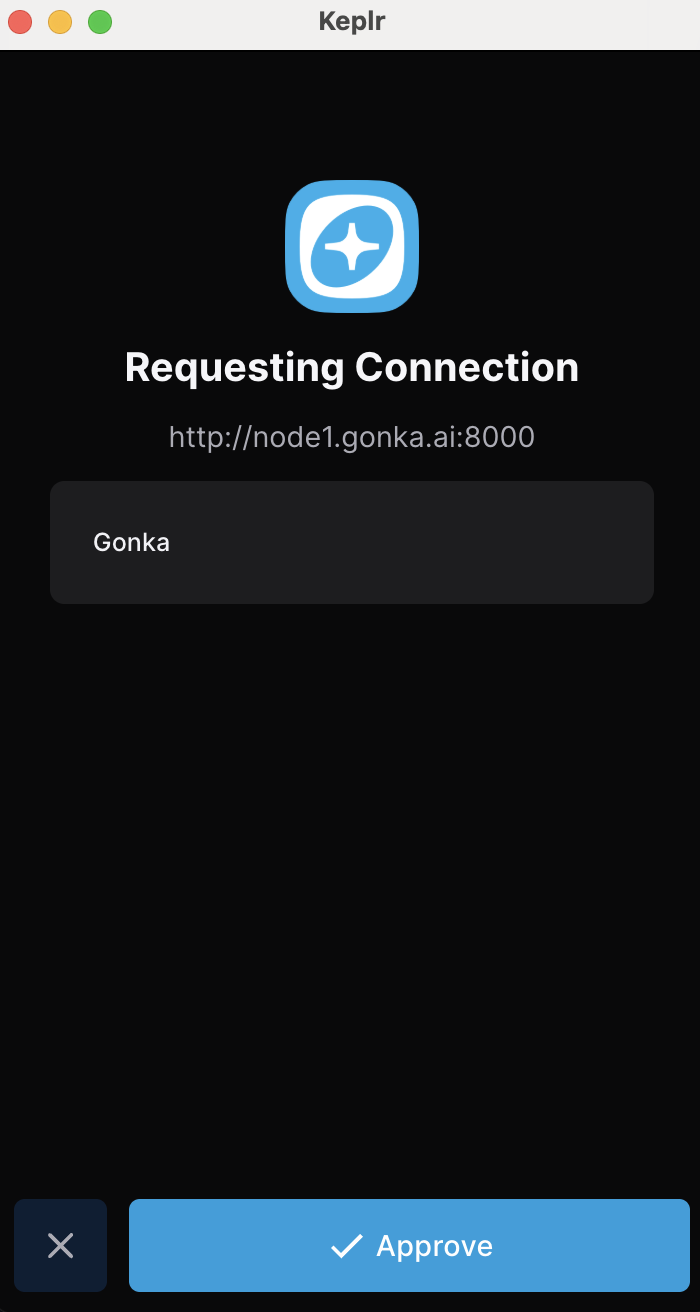
3.4. Approve requested connection to Gonka network.
3.5. Done! You successfully added your account to the wallet.
Optional: How to add an additional Gonka account in Keplr wallet — click to view steps
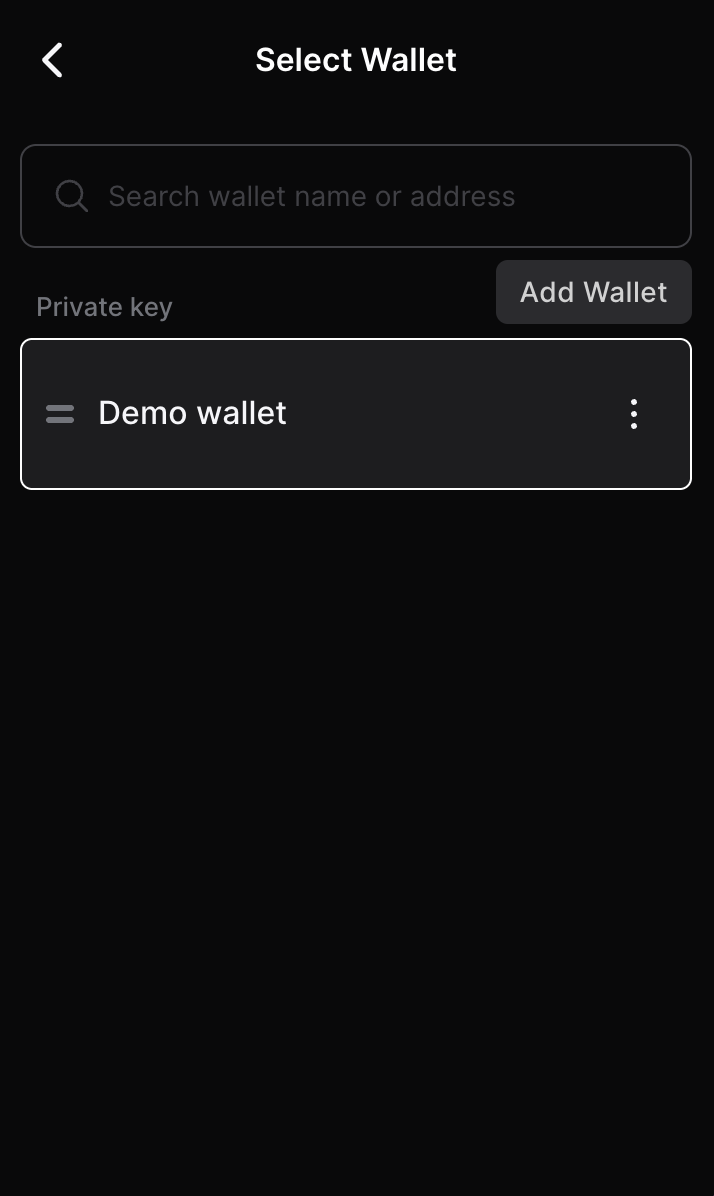
Open the extension and click on the account icon in the top-right corner of the extension window.
Click the "Add wallet" button.
Click "Import an Existing Wallet".
Click "Use recovery phrase or private key"
Paste your private key.
Important note on wallet-bridge compatibility
The bridge currently expects a specific account setup. Some wallets may let you create a Gonka account and even export a private key, but that does not always mean the account will work correctly with the bridge. For bridge use, please create your Gonka account in one of the following ways:
- With the
inferencedCLI tool - In Keplr using the “Connect with Google” flow
These are the recommended and supported options for users who need Ethereum bridge compatibility. See Create a Gonka account for details.
Give your wallet a name for easy reference.
Make sure Gonka chain is selected.
Done — your Gonka account has been successfully imported into Keplr!